> ## Documentation Index
> Fetch the complete documentation index at: https://help.ip2up.com/llms.txt
> Use this file to discover all available pages before exploring further.
# Account & Password Sub-Accounts
All proxy products of the platform need to be used in an overseas network environment, which requires customers to configure themselves.
This article explains how to add and manage sub-accounts on the **[Ip2up](https://www.Ip2up.com/zh-cn/)** platform.
### 1. Log in to the Proxy Platform
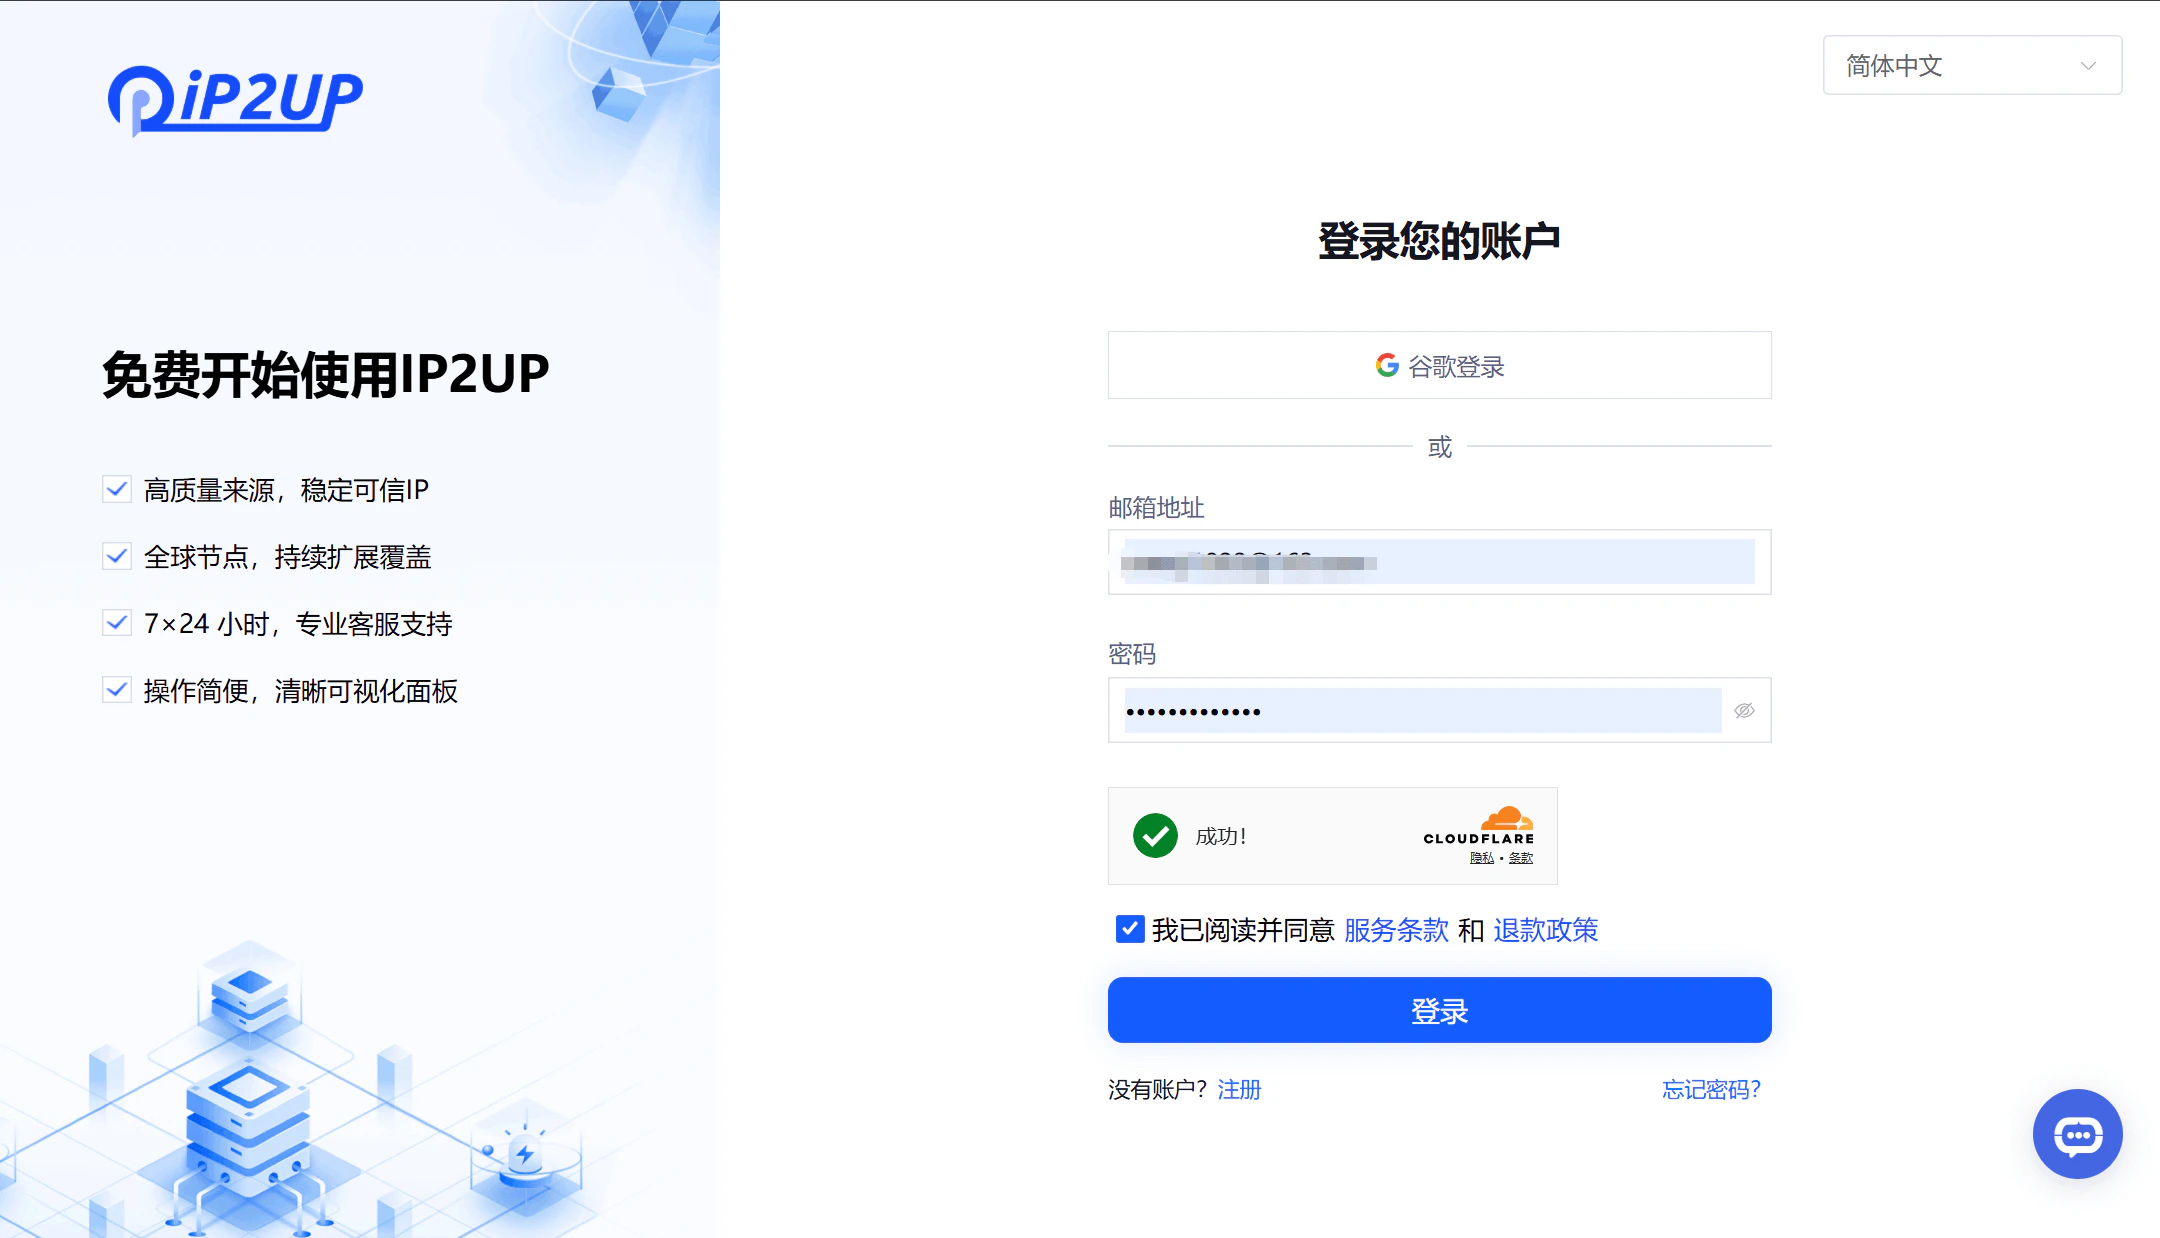
1. Open your browser and visit the [Ip2up Official Website](https://www.ip2up.com), then enter your account username and password to log in to the system.
 ### 2. Create a Sub-Account
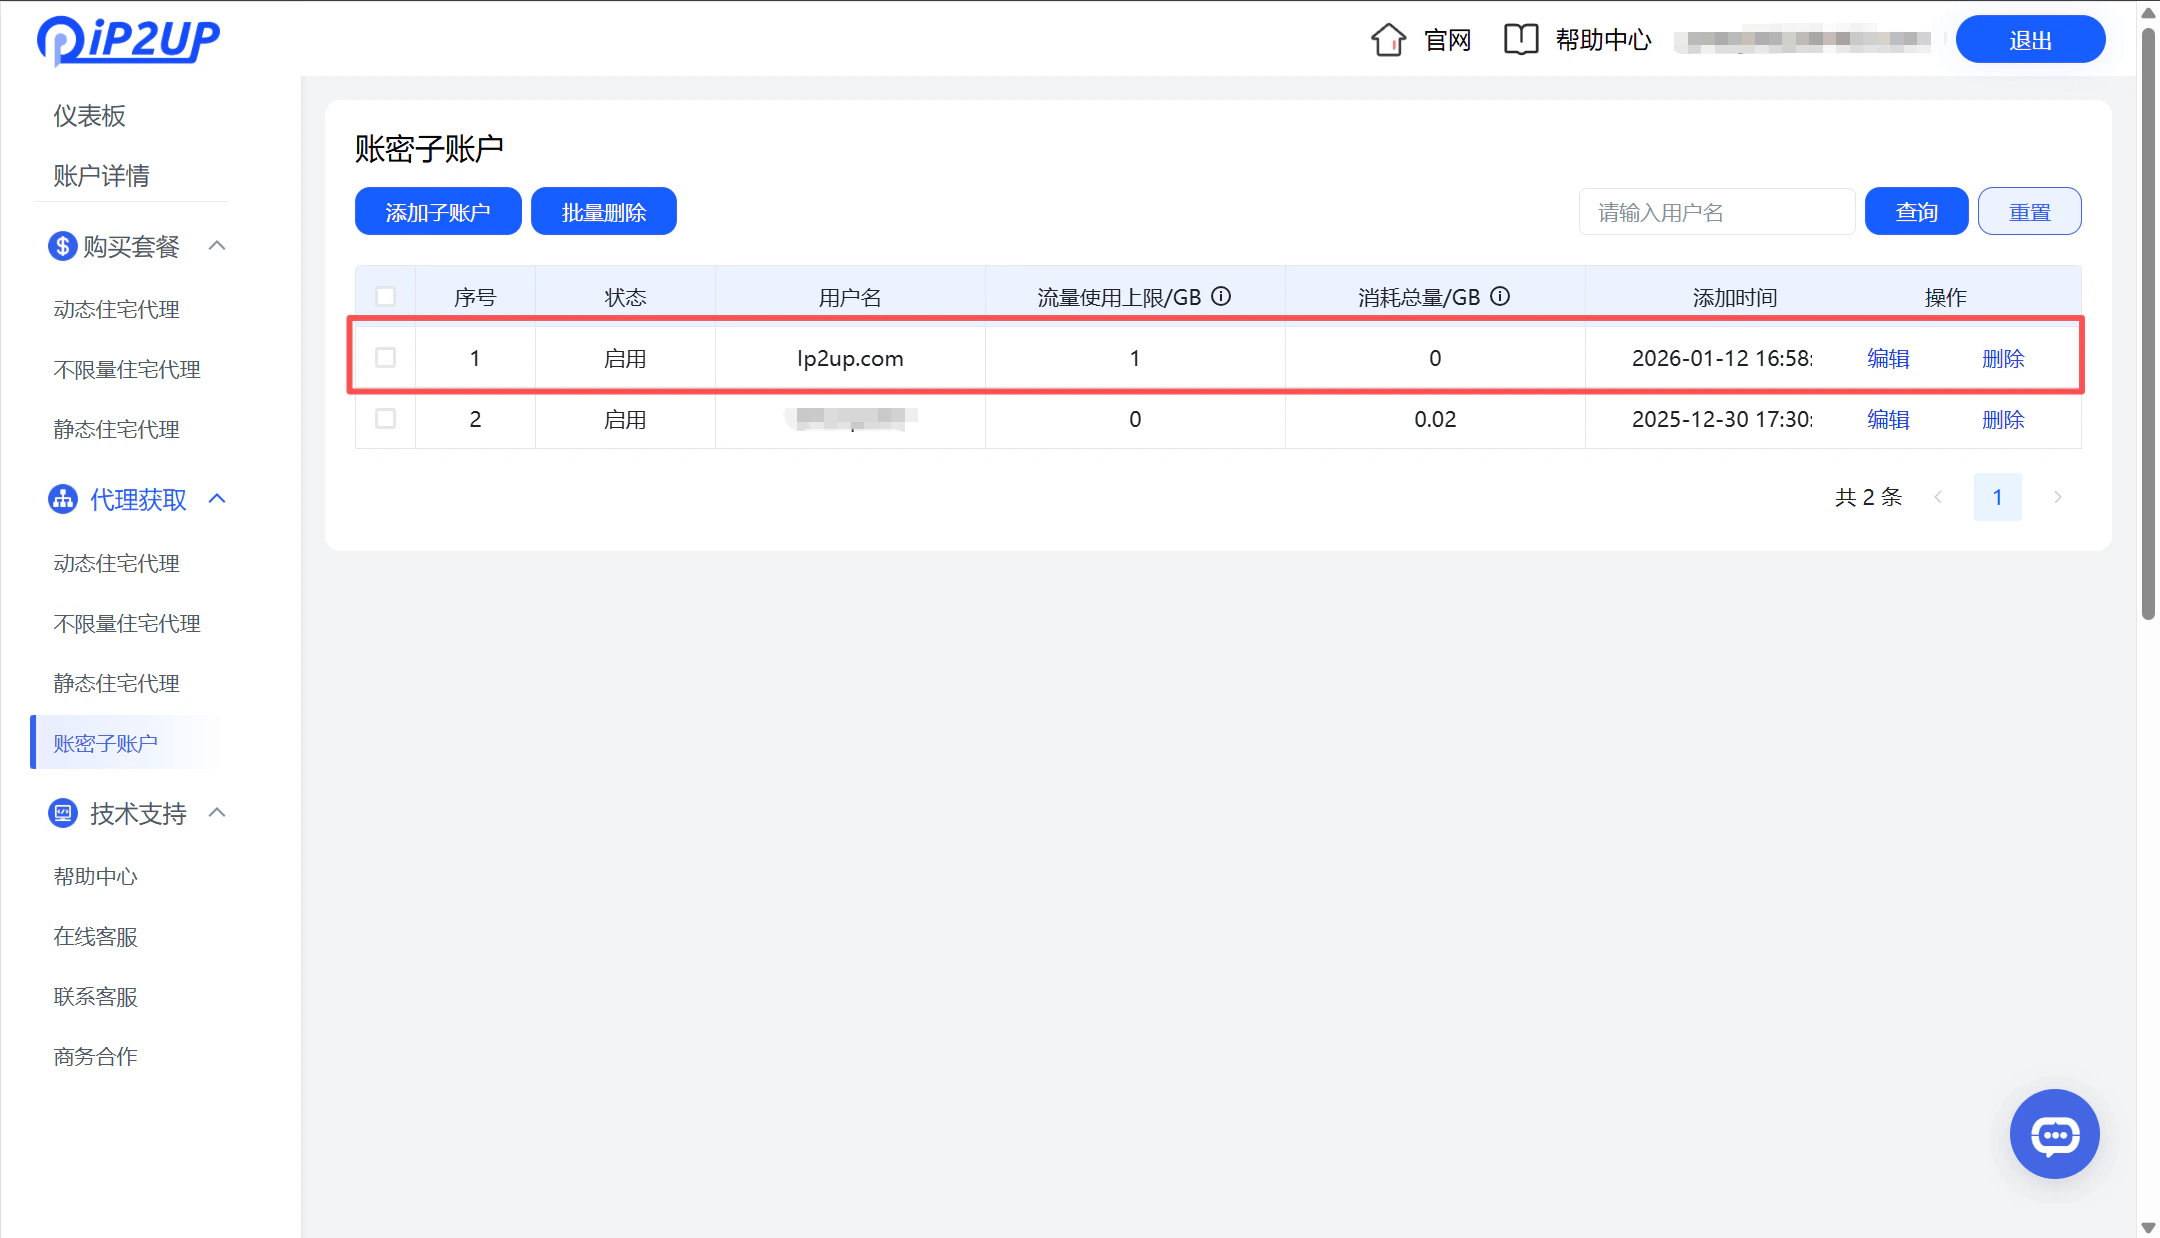
1. After logging in successfully, click **\[Account & Password Sub-Accounts]** in the left-side menu
2. Click the **\[Add Sub-Account]** button
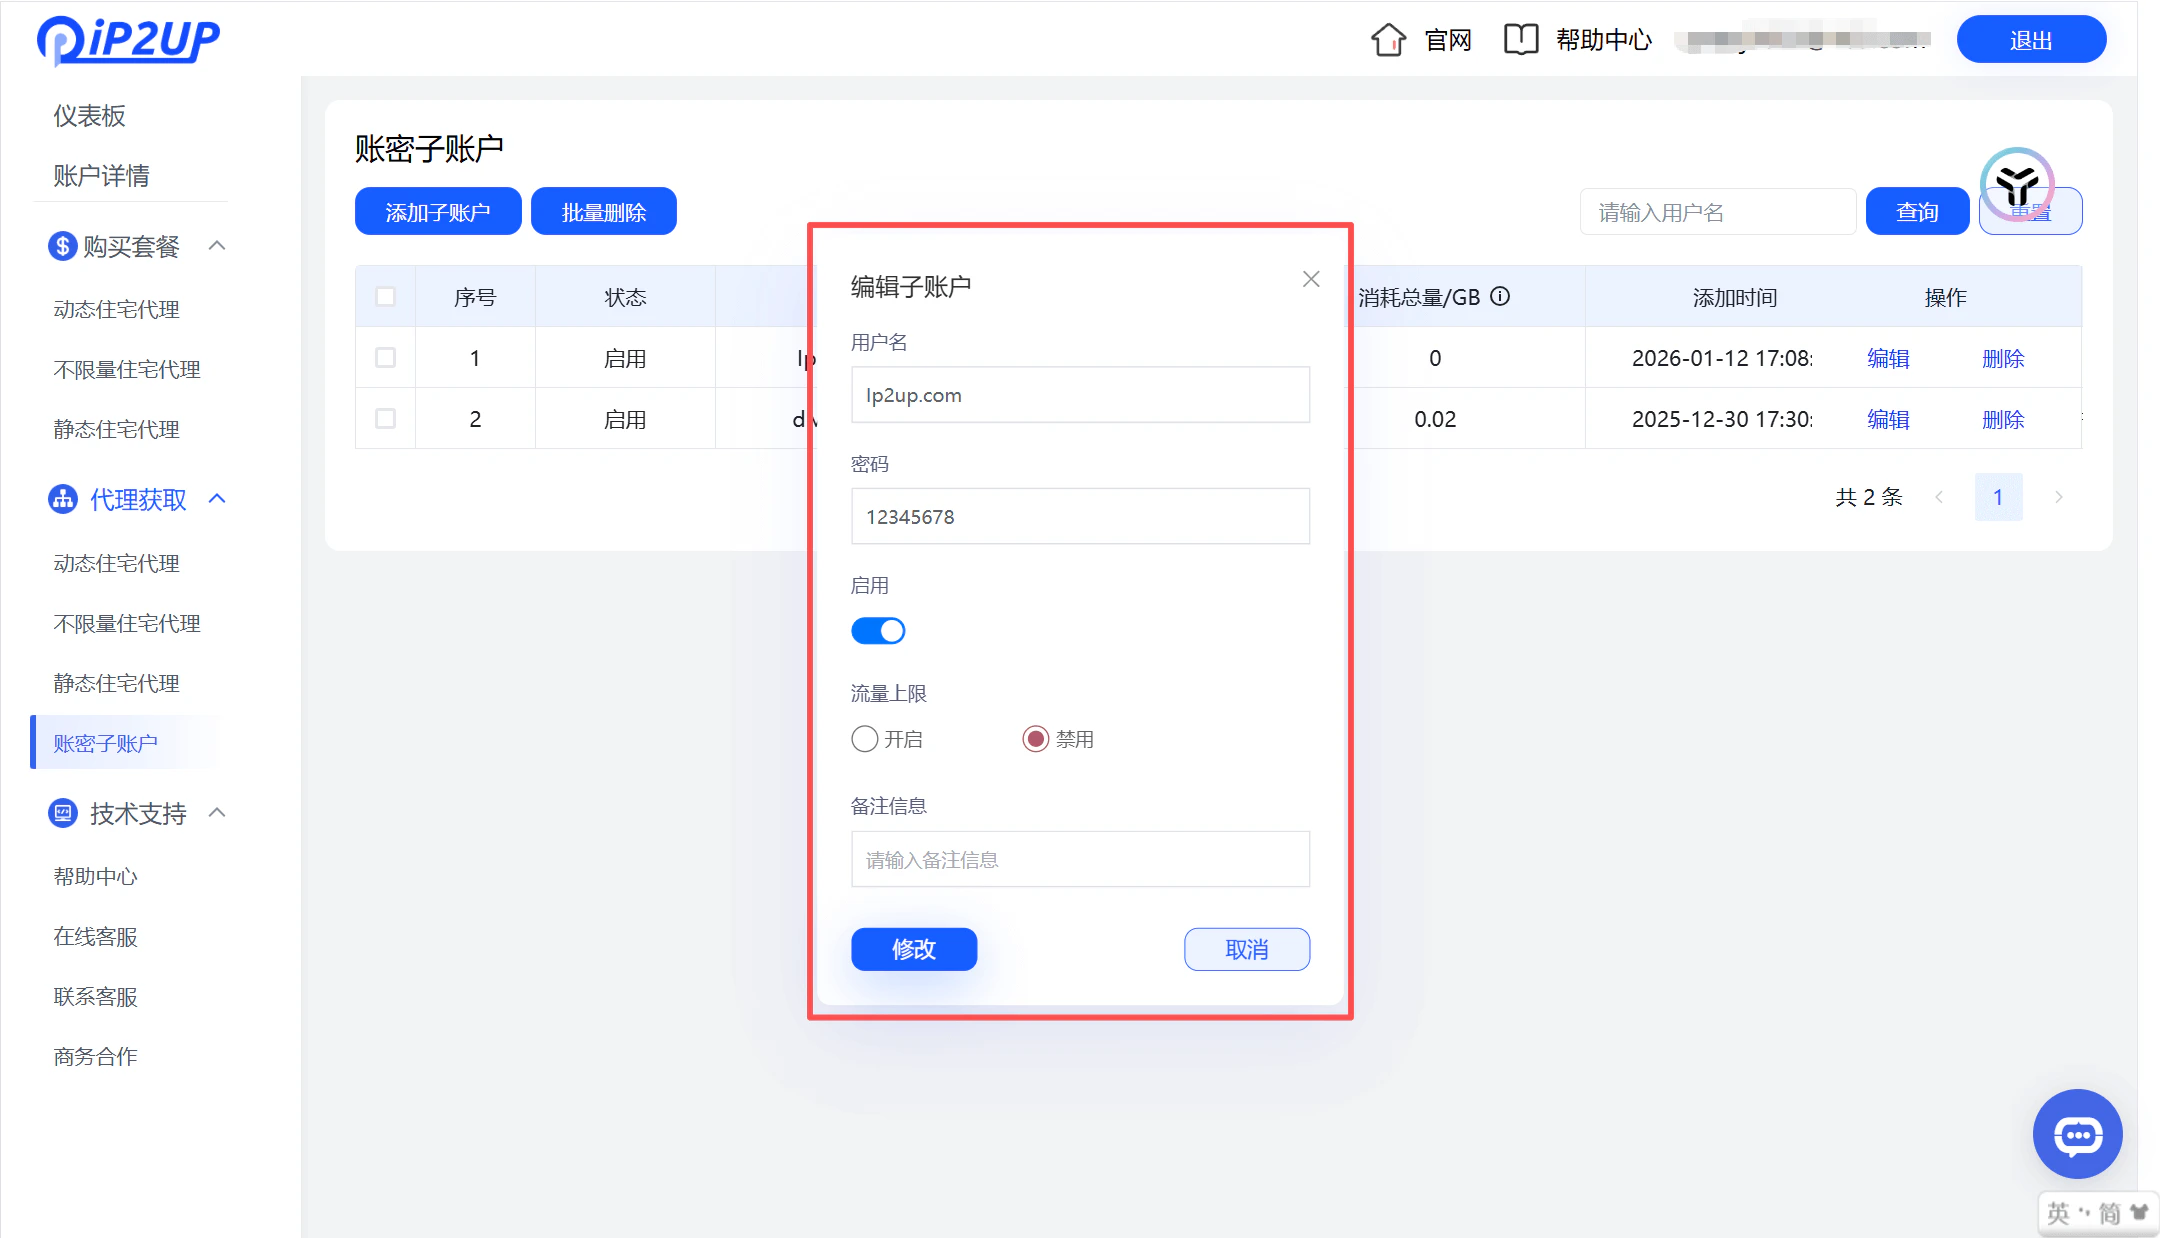
3. In the pop-up edit window, fill in the following information:
* Sub-account name
* Password
* Status (Enable or Disable)
* Unlimited traffic usage
4. After completing the form, click **\[Add]**
5. The system will display the newly created sub-account information
### 2. Create a Sub-Account
1. After logging in successfully, click **\[Account & Password Sub-Accounts]** in the left-side menu
2. Click the **\[Add Sub-Account]** button
3. In the pop-up edit window, fill in the following information:
* Sub-account name
* Password
* Status (Enable or Disable)
* Unlimited traffic usage
4. After completing the form, click **\[Add]**
5. The system will display the newly created sub-account information