The usage method for dynamic residential IPs is the same as for static residential IPs
Step 1: Download and Install the MuLogin Client
Visit the MuLogin official website, register an account, download the client, complete the installation, and then launch the software.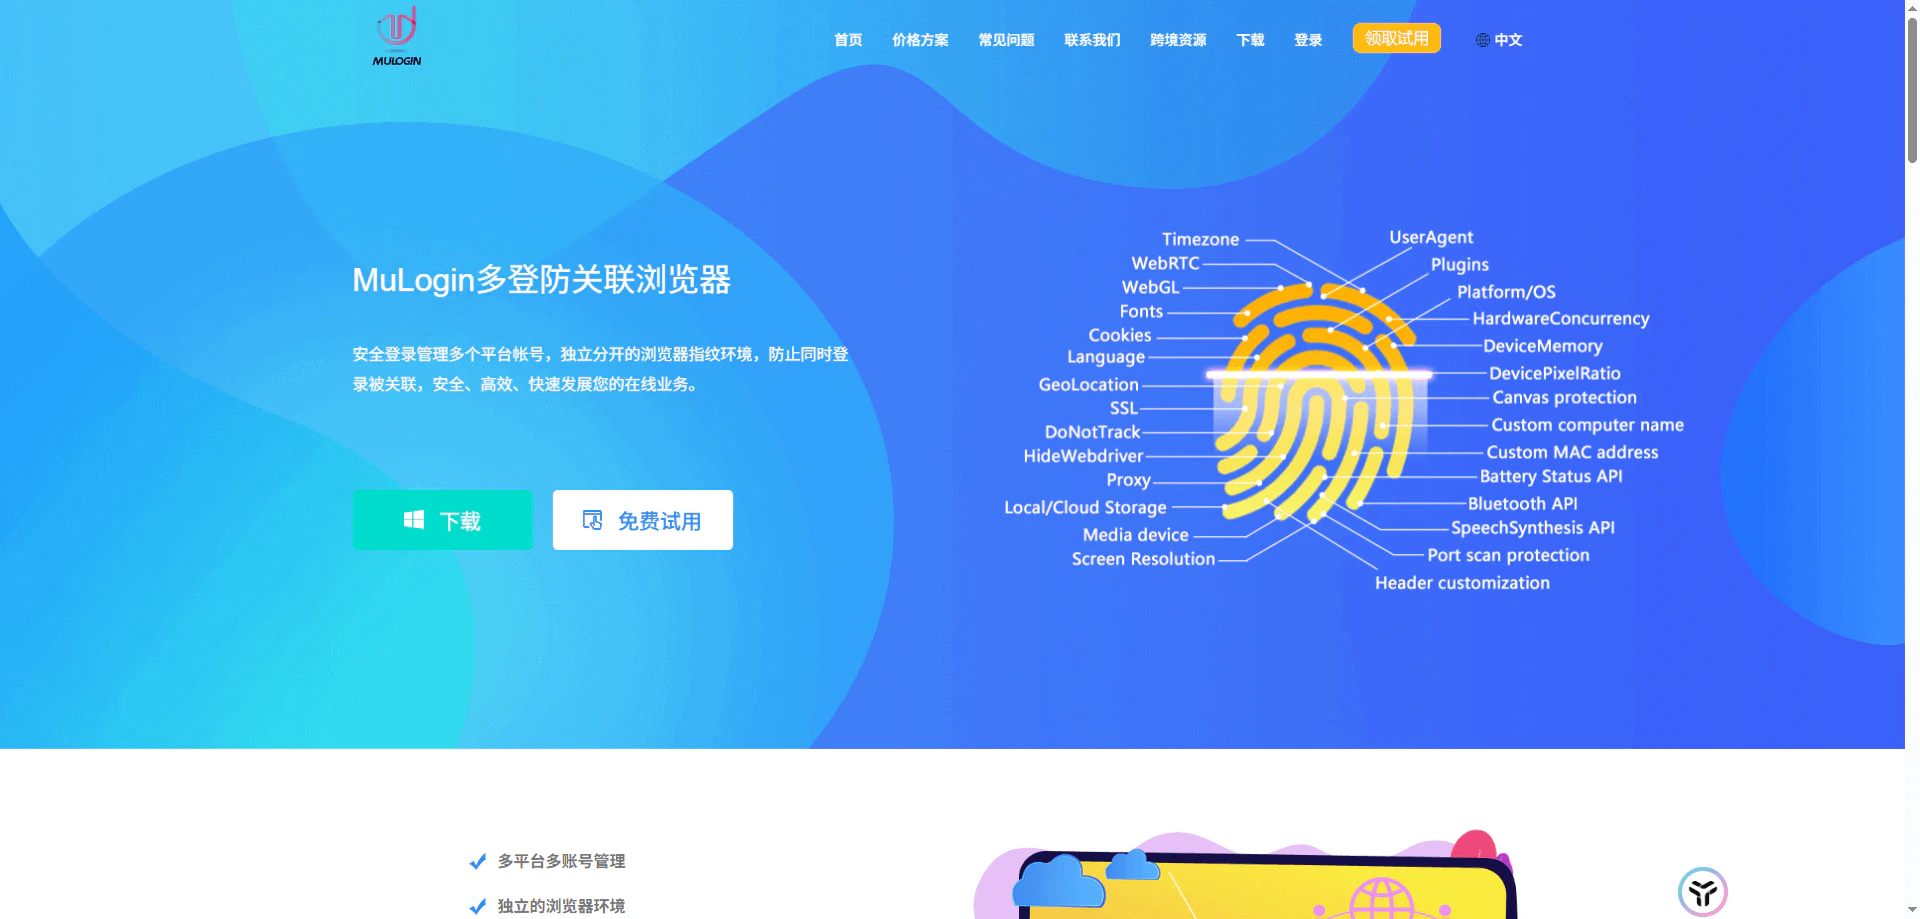
Step 2: Create a New Browser Environment
After opening the MuLogin client, click the Add Browser button in the browser list on the main interface to enter the environment configuration page.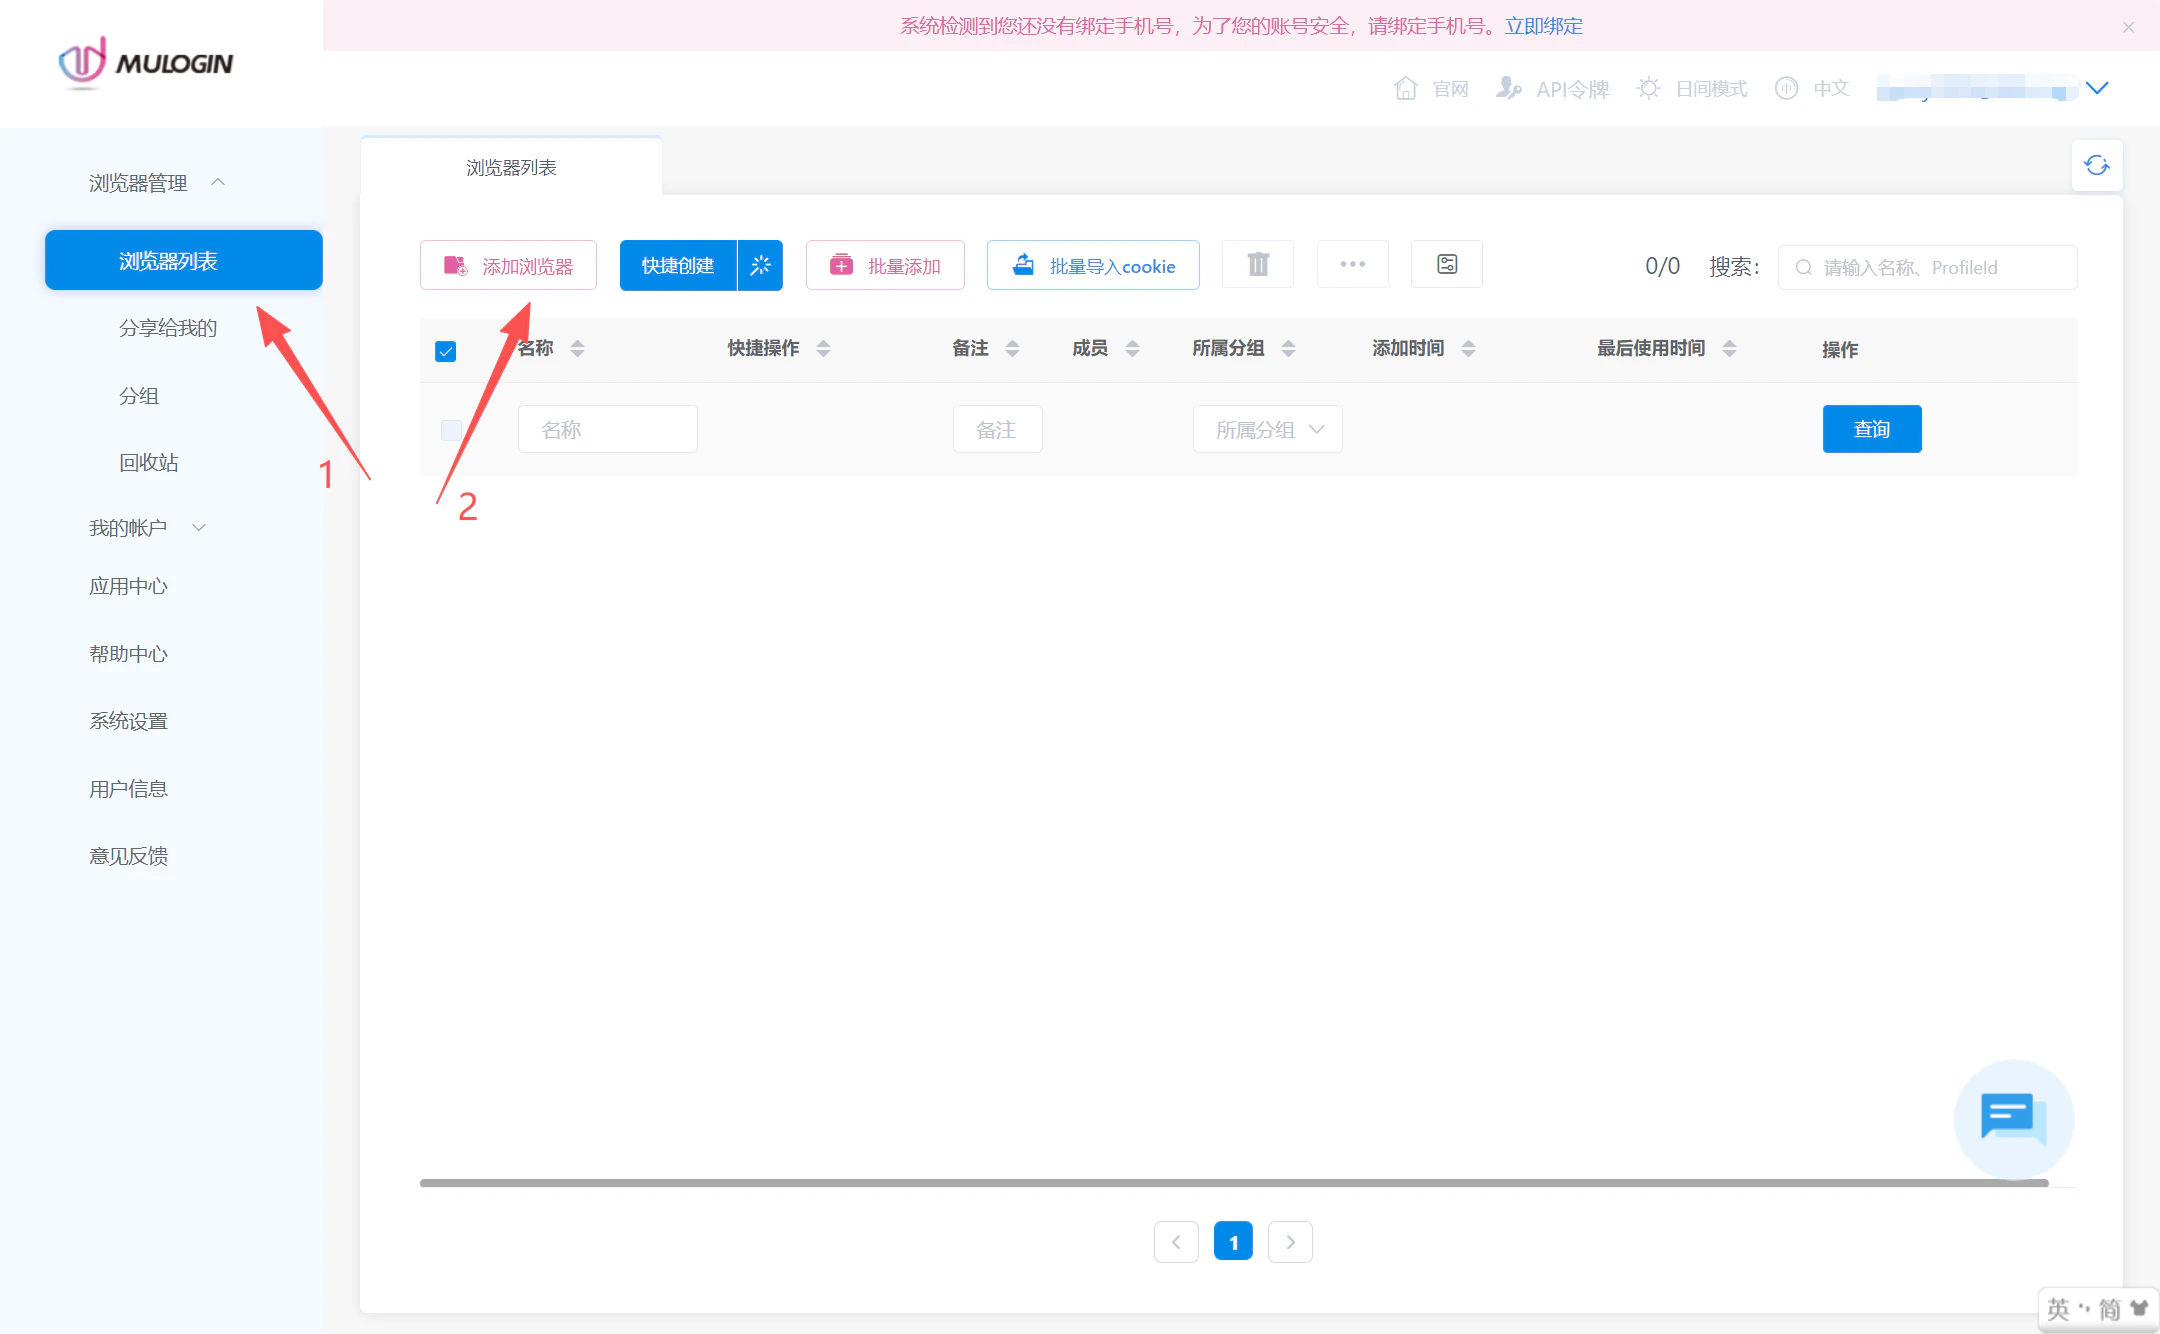
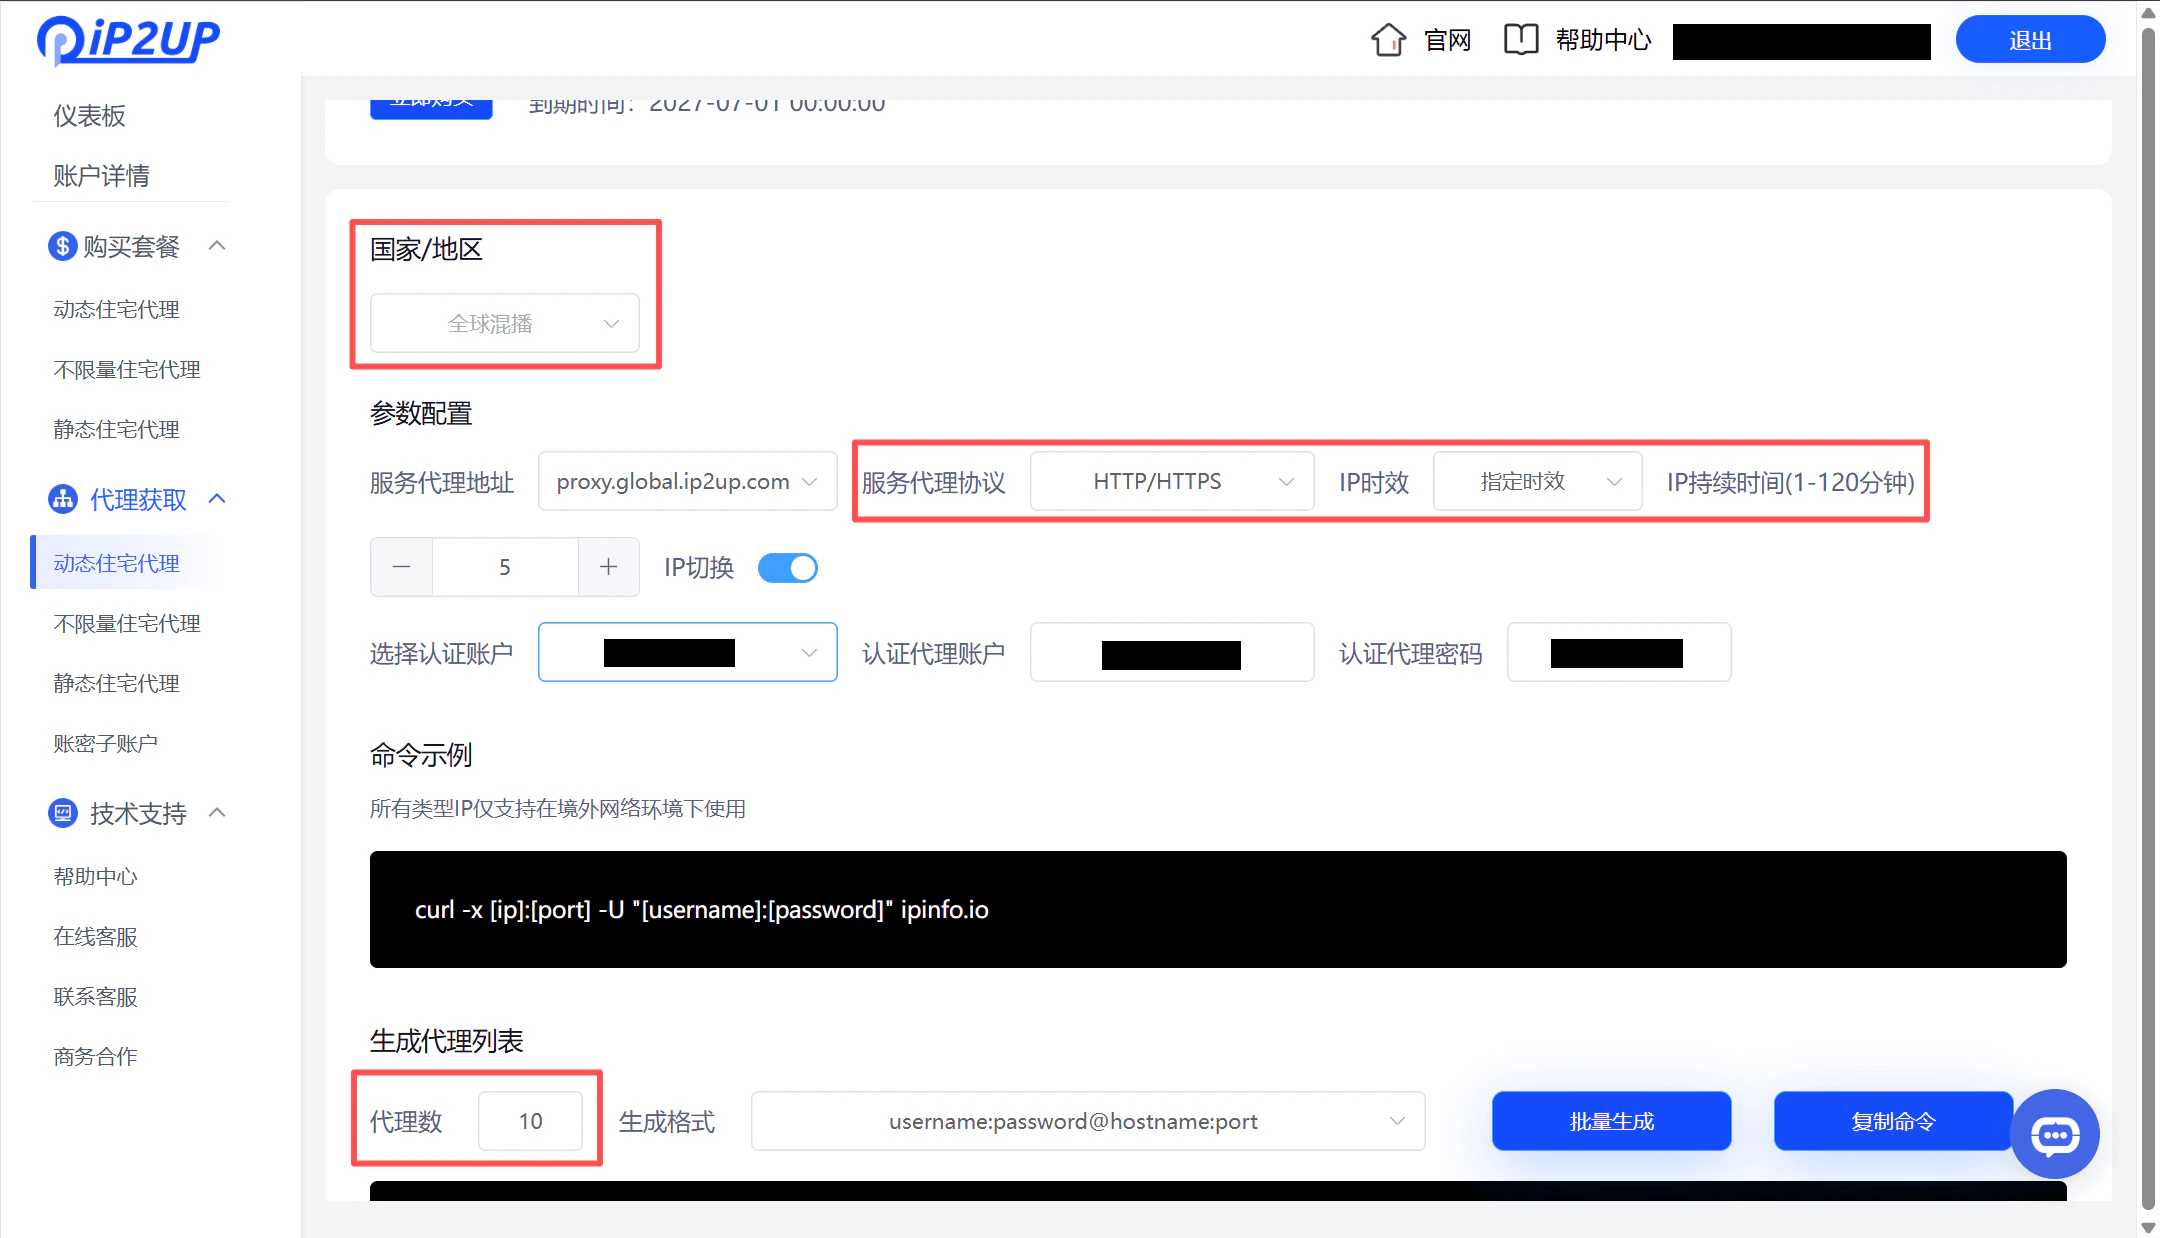
Step 3: Obtain Ip2up Proxy Information
Log in to the Ip2up Proxy Platform, navigate to the Dynamic Residential Proxy page, and view and copy your proxy information:- Server address
- Port
- Username
- Password
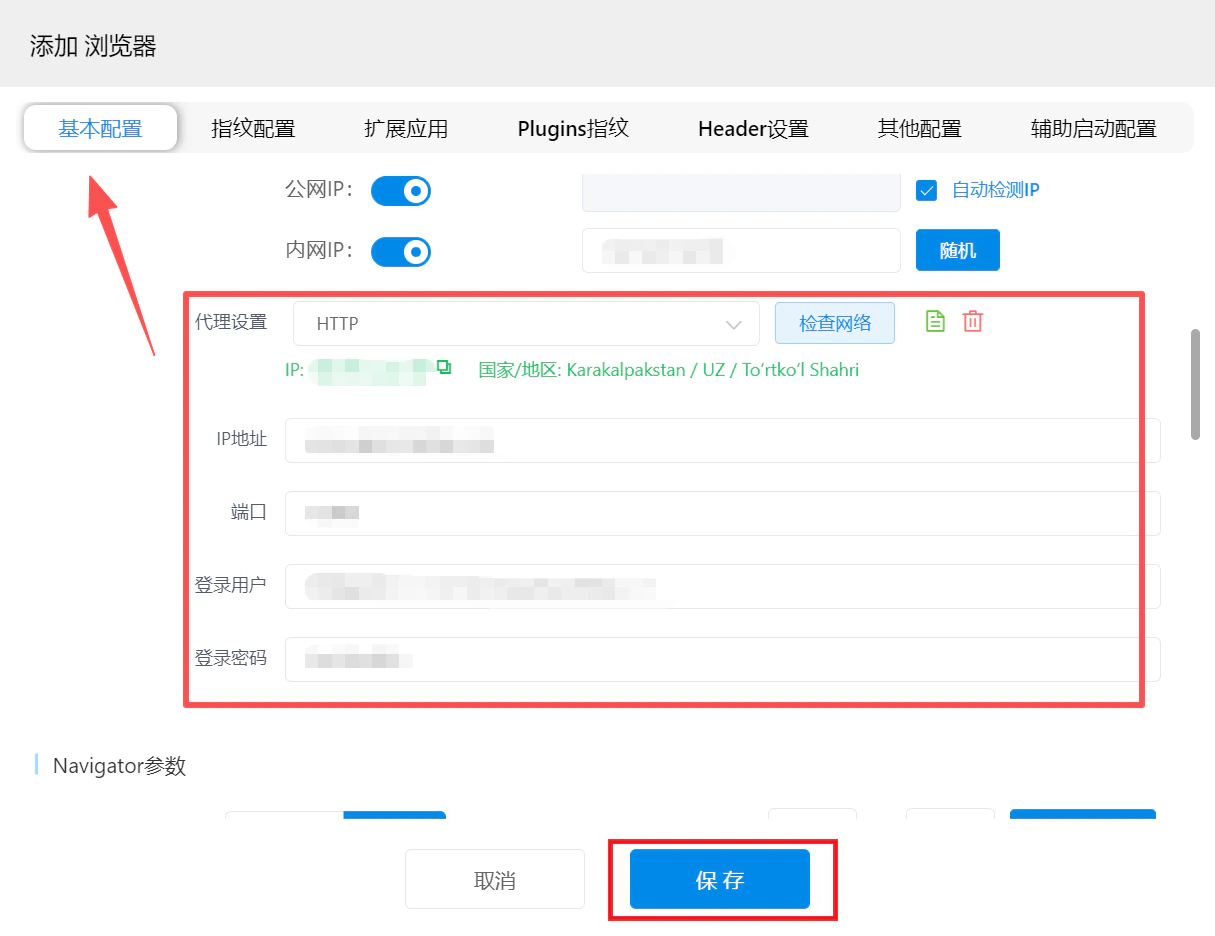
Step 4: Configure Proxy Settings
- On the MuLogin environment configuration page, locate Basic Configuration
- Select the proxy protocol: HTTP or SOCKS5
- Enter the proxy information obtained from Ip2up
- Click the “Check Network” button to test proxy connectivity
- After confirming everything is correct, click “Save” to save the configuration
Step 5: Launch the Browser Environment
After saving the configuration, return to the browser list page, locate the environment you just created, and click the “Open” button to launch the browser.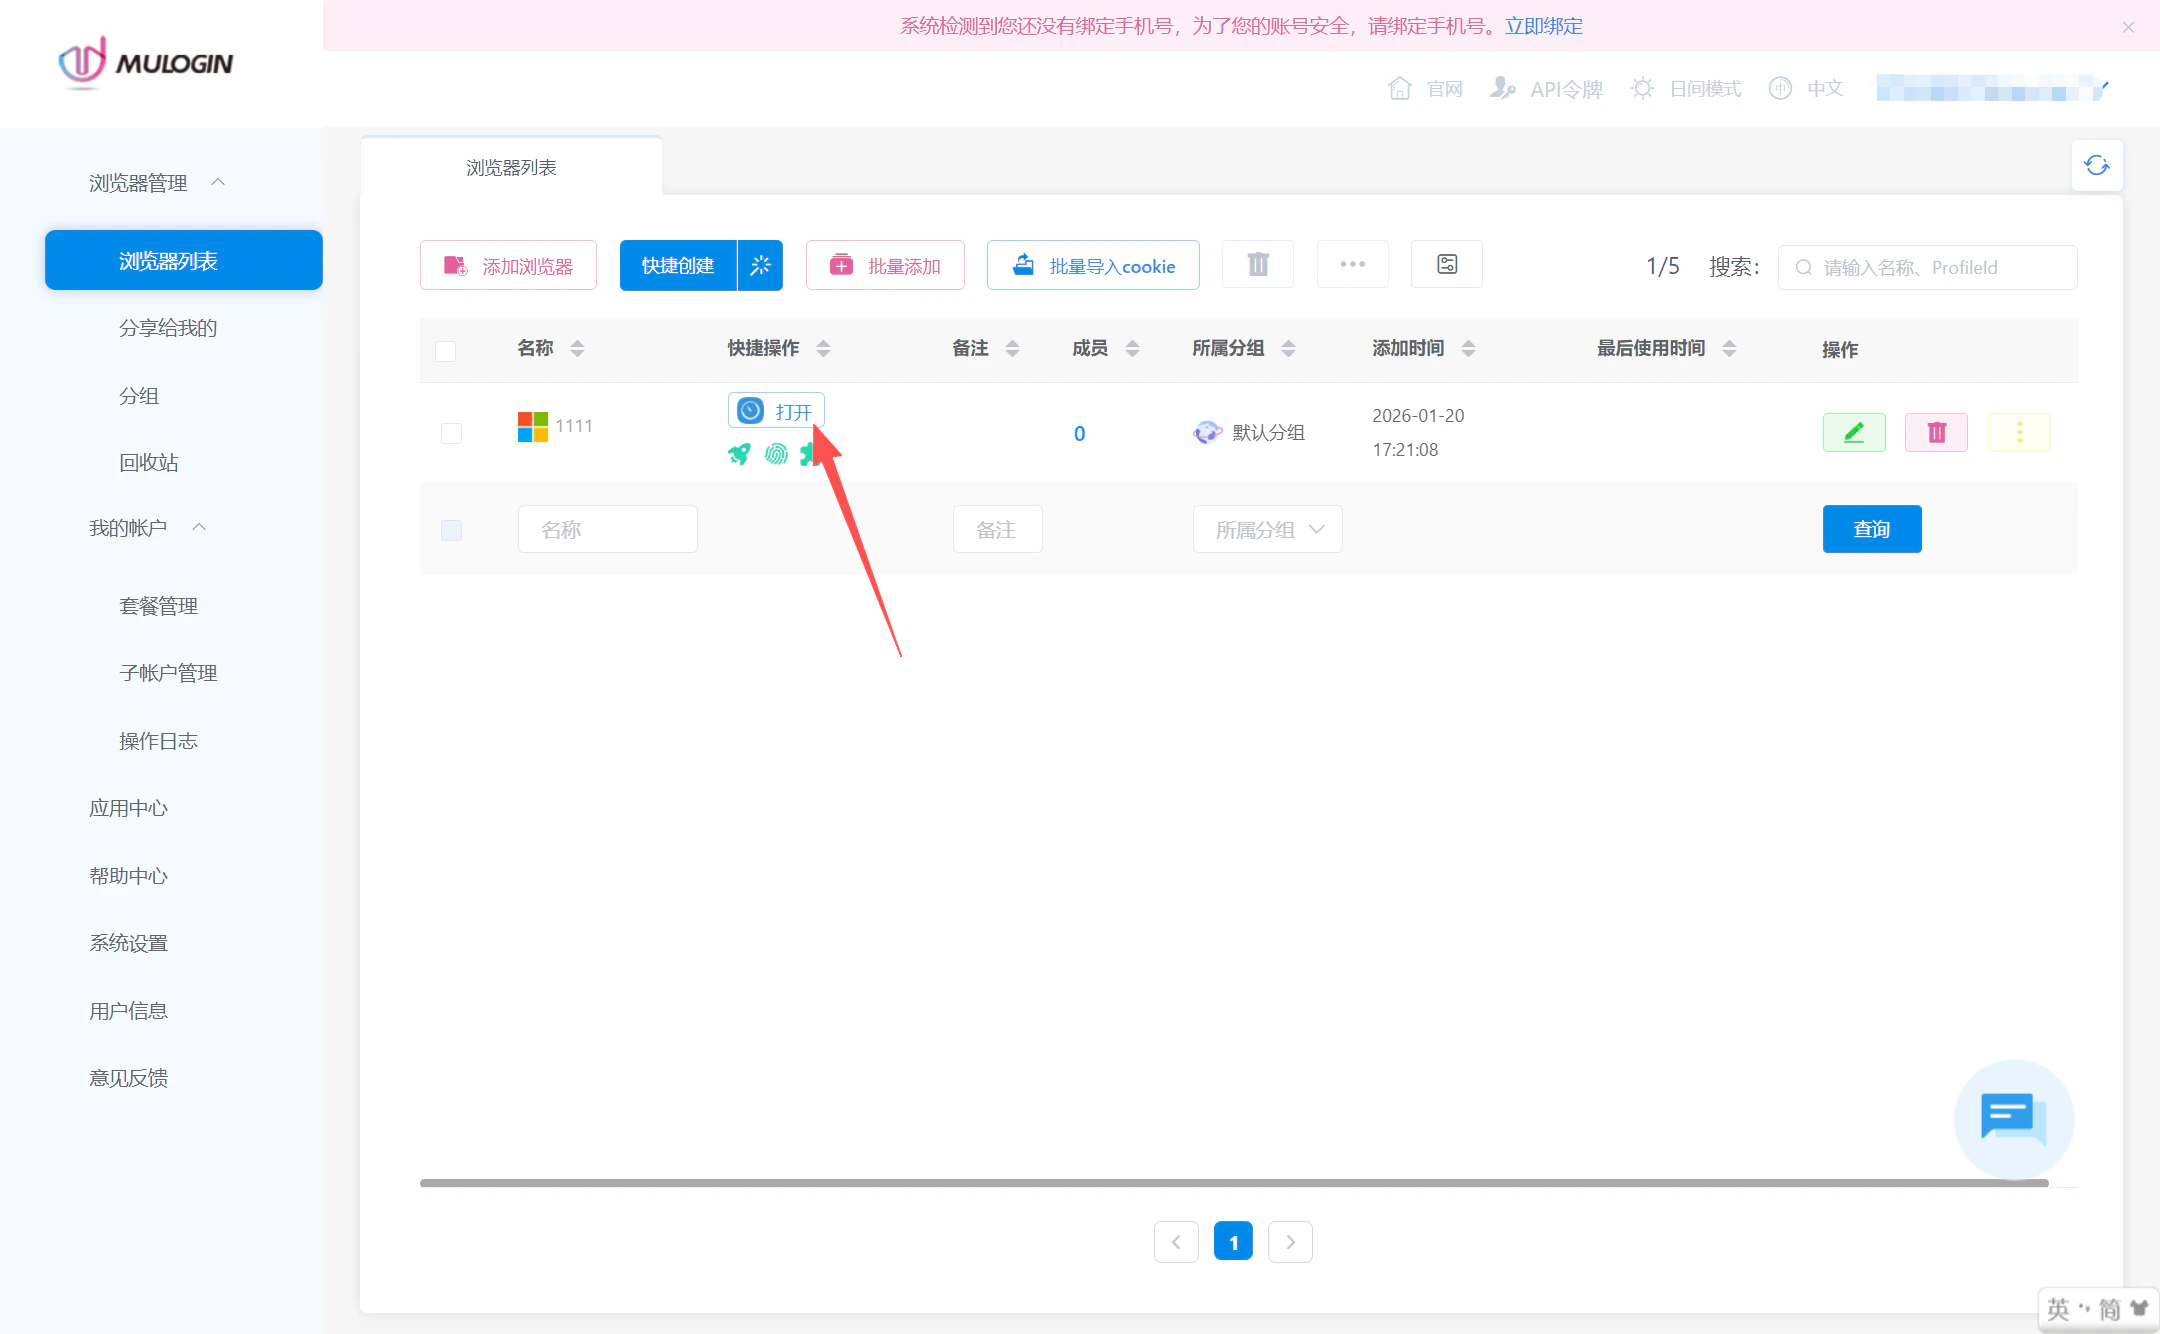
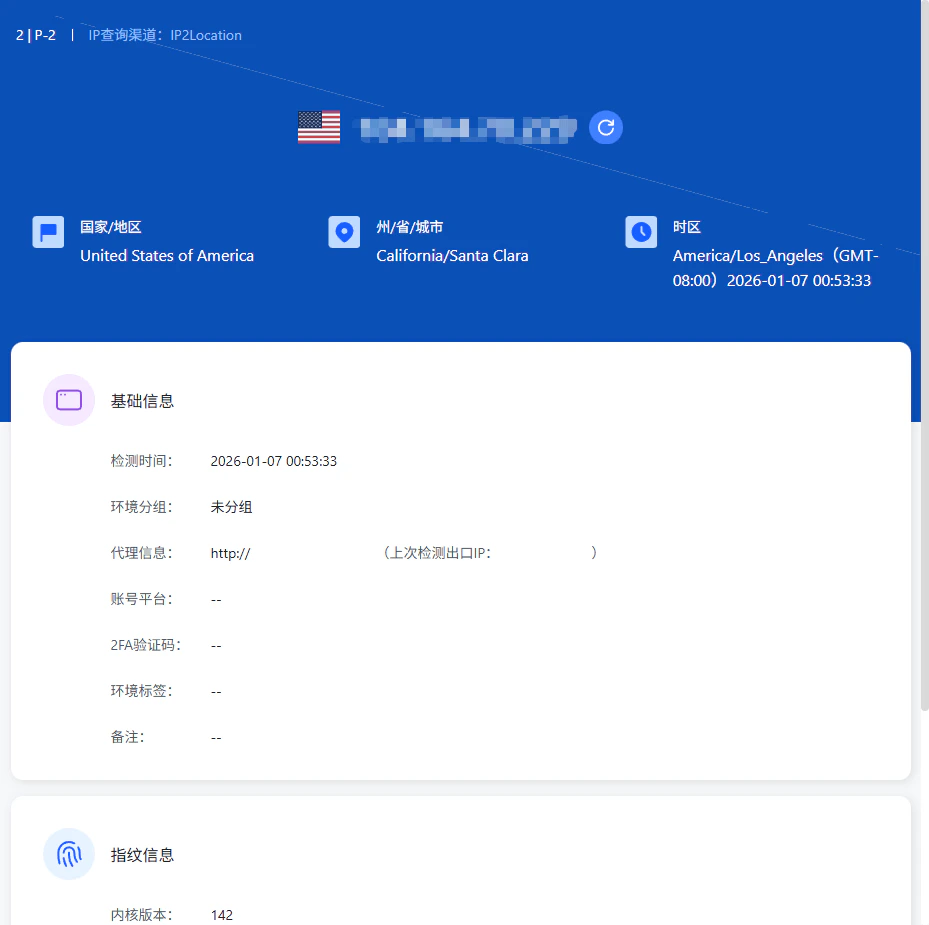
Step 6: Verify the Proxy IP
In the opened browser, visit an IP checking website to confirm that the displayed IP address matches the proxy IP provided by Ip2up.