The usage method for dynamic residential IPs is the same as for static residential IPs
Step 1: Download and Install the AdsPower Browser
Visit the AdsPower official website, register an account, download the client, and complete the installation. Then open the client.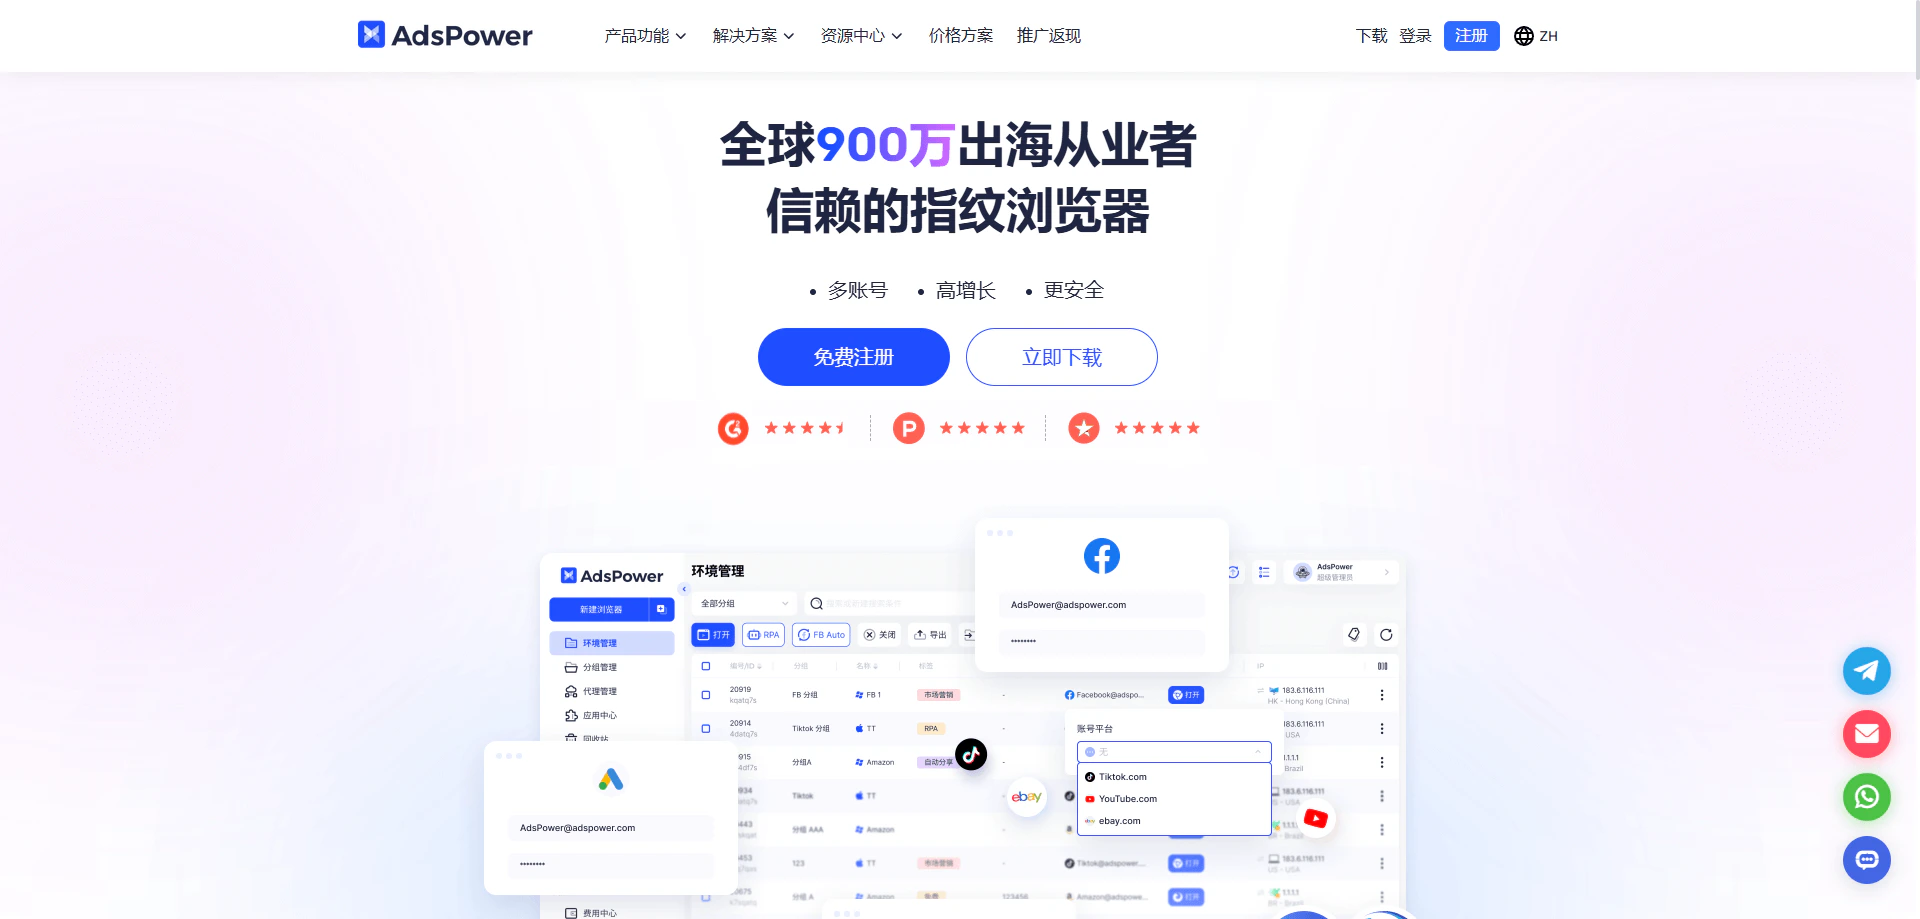
Step 2: Create a New Browser Profile
In the AdsPower client, click New Browser and fill in the required basic information (such as name and group). In the Proxy Settings section, it is recommended to select Custom as the proxy type.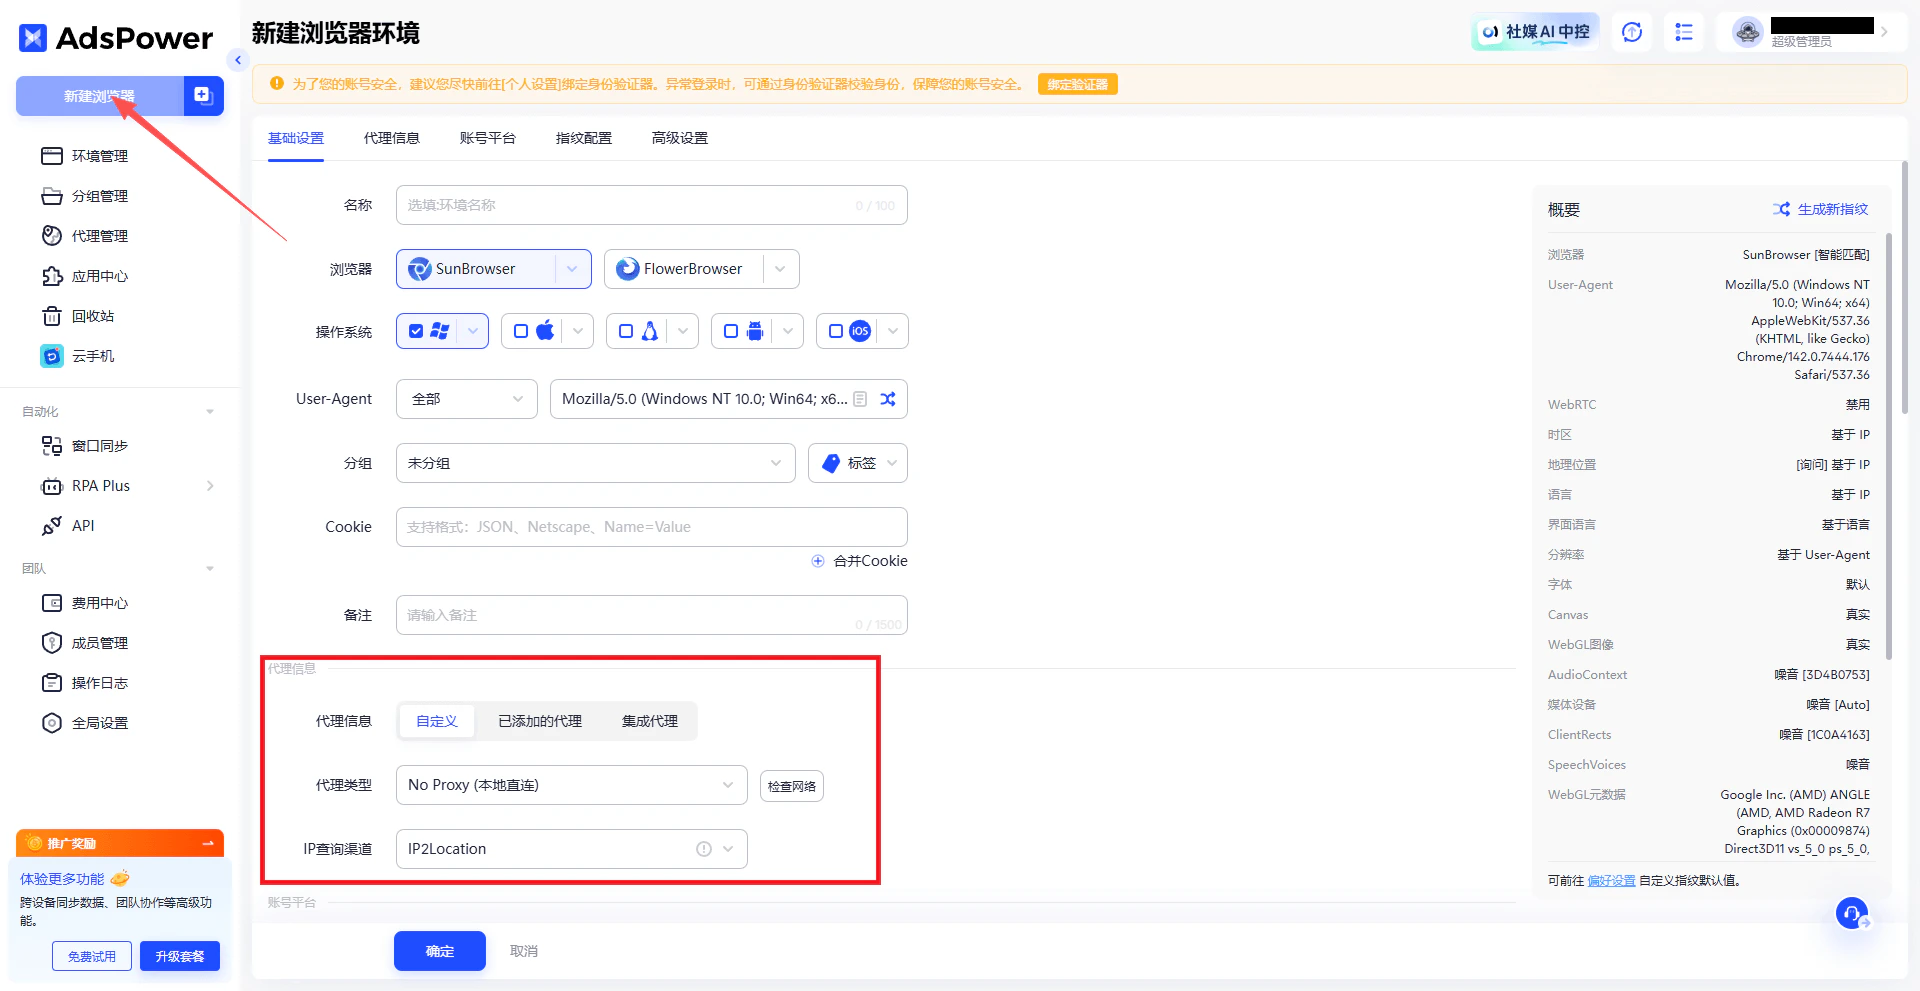
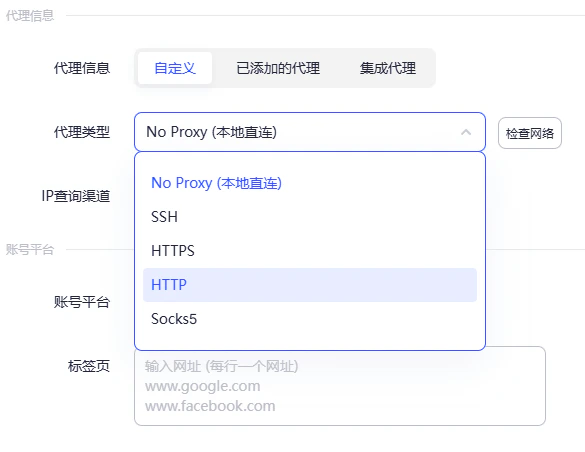
Step 3: Select the Proxy Protocol Type
In the proxy settings, choose the proxy protocol.Note: Ip2up currently supports HTTP and SOCKS5 proxy protocols. Please select according to your actual needs.
Step 4: Obtain Ip2up Proxy Information
Log in to the Ip2up Proxy Platform, go to the Static Residential Proxy page, and view and copy your proxy details (server address, port, username, and password).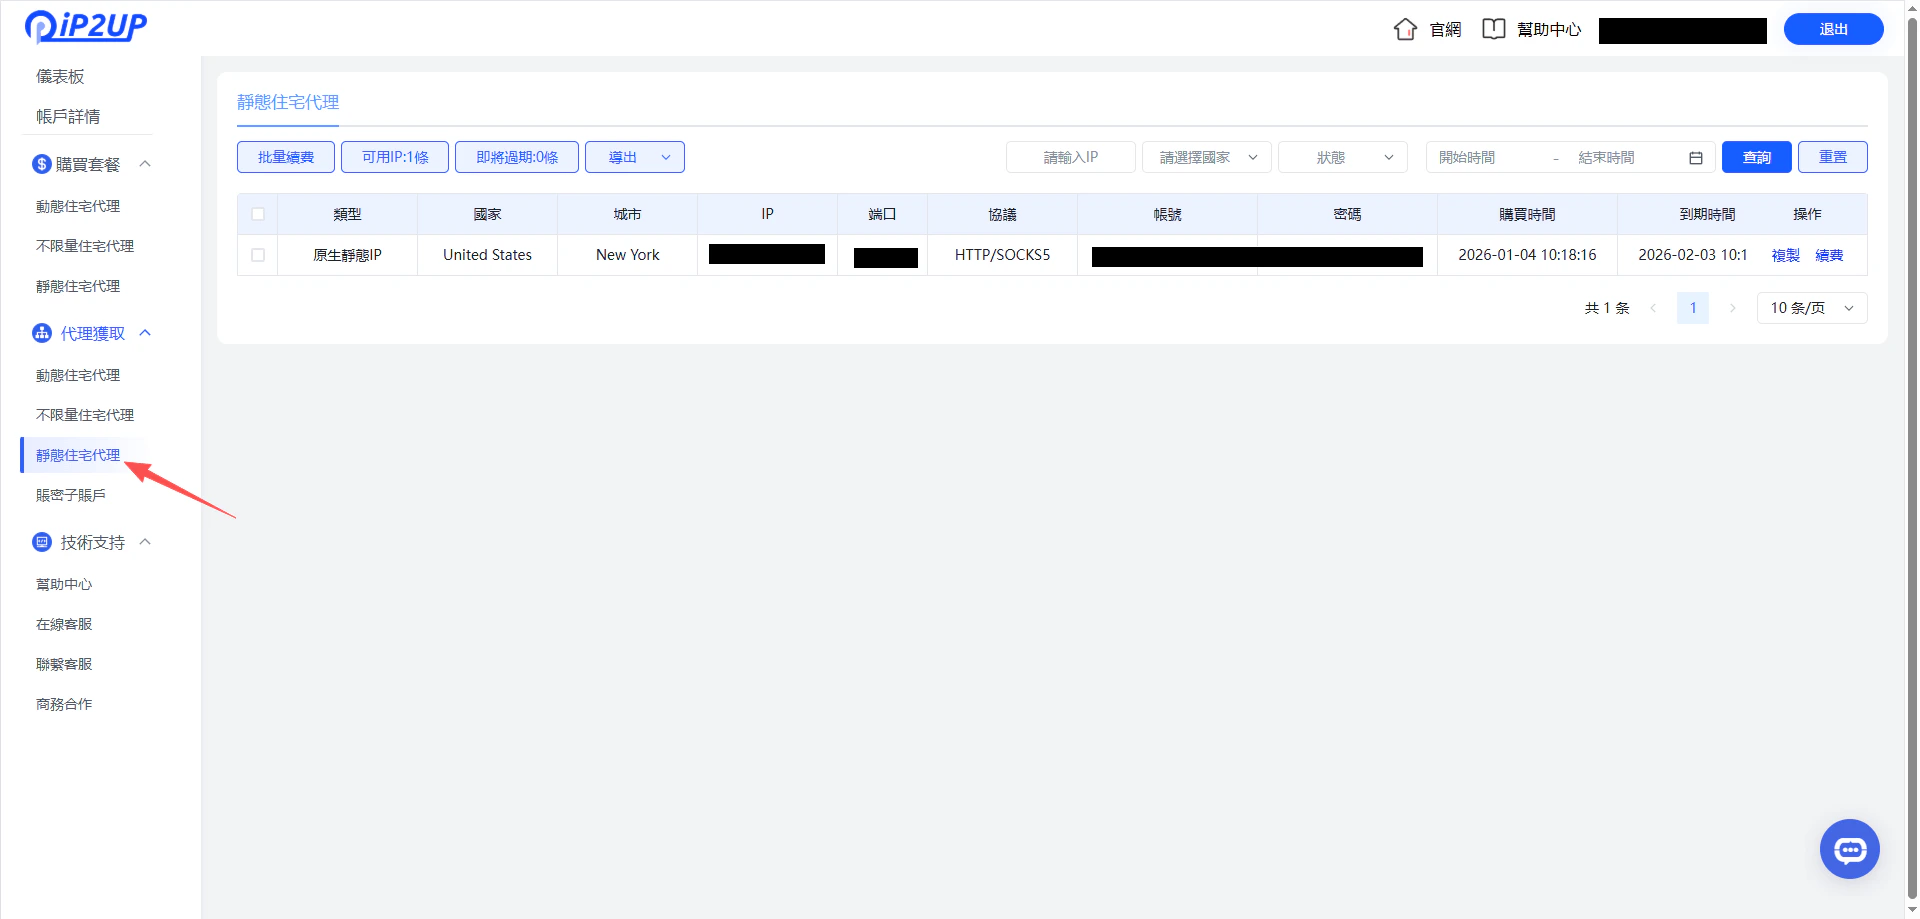
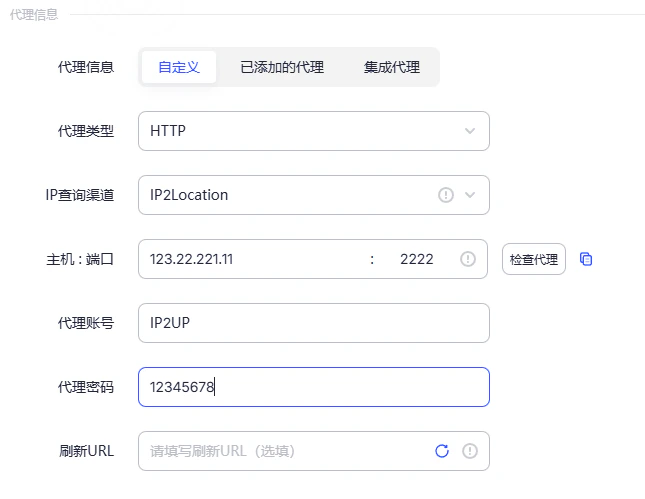
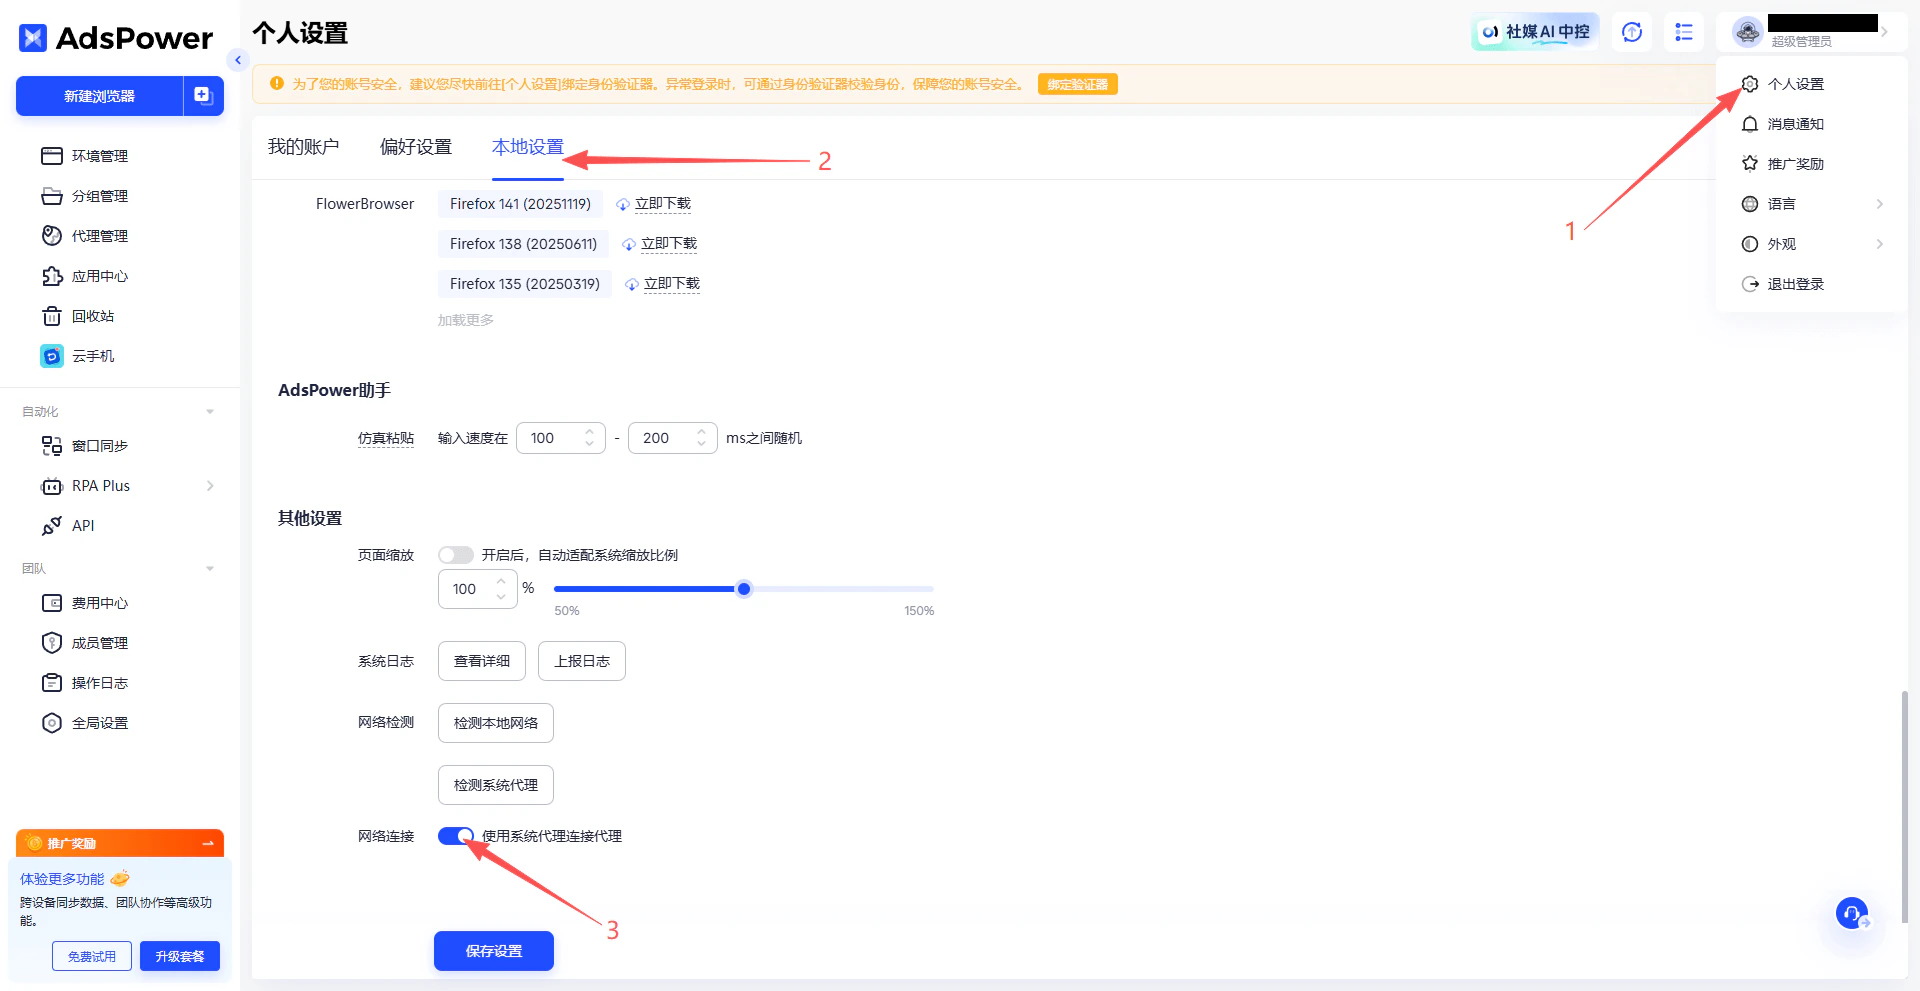
Step 5: Enter Proxy Information and Enable System Proxy Connection
Enter the copied proxy information into the AdsPower proxy settings. For example:- Server Address:
123.22.221.11 - Port:
2222 - Username:
Ip2up - Password:
12345678
Step 6: Save and Launch the Browser
Click OK to save the configuration. Return to the account list, find the newly created profile, and click Open to launch the browser.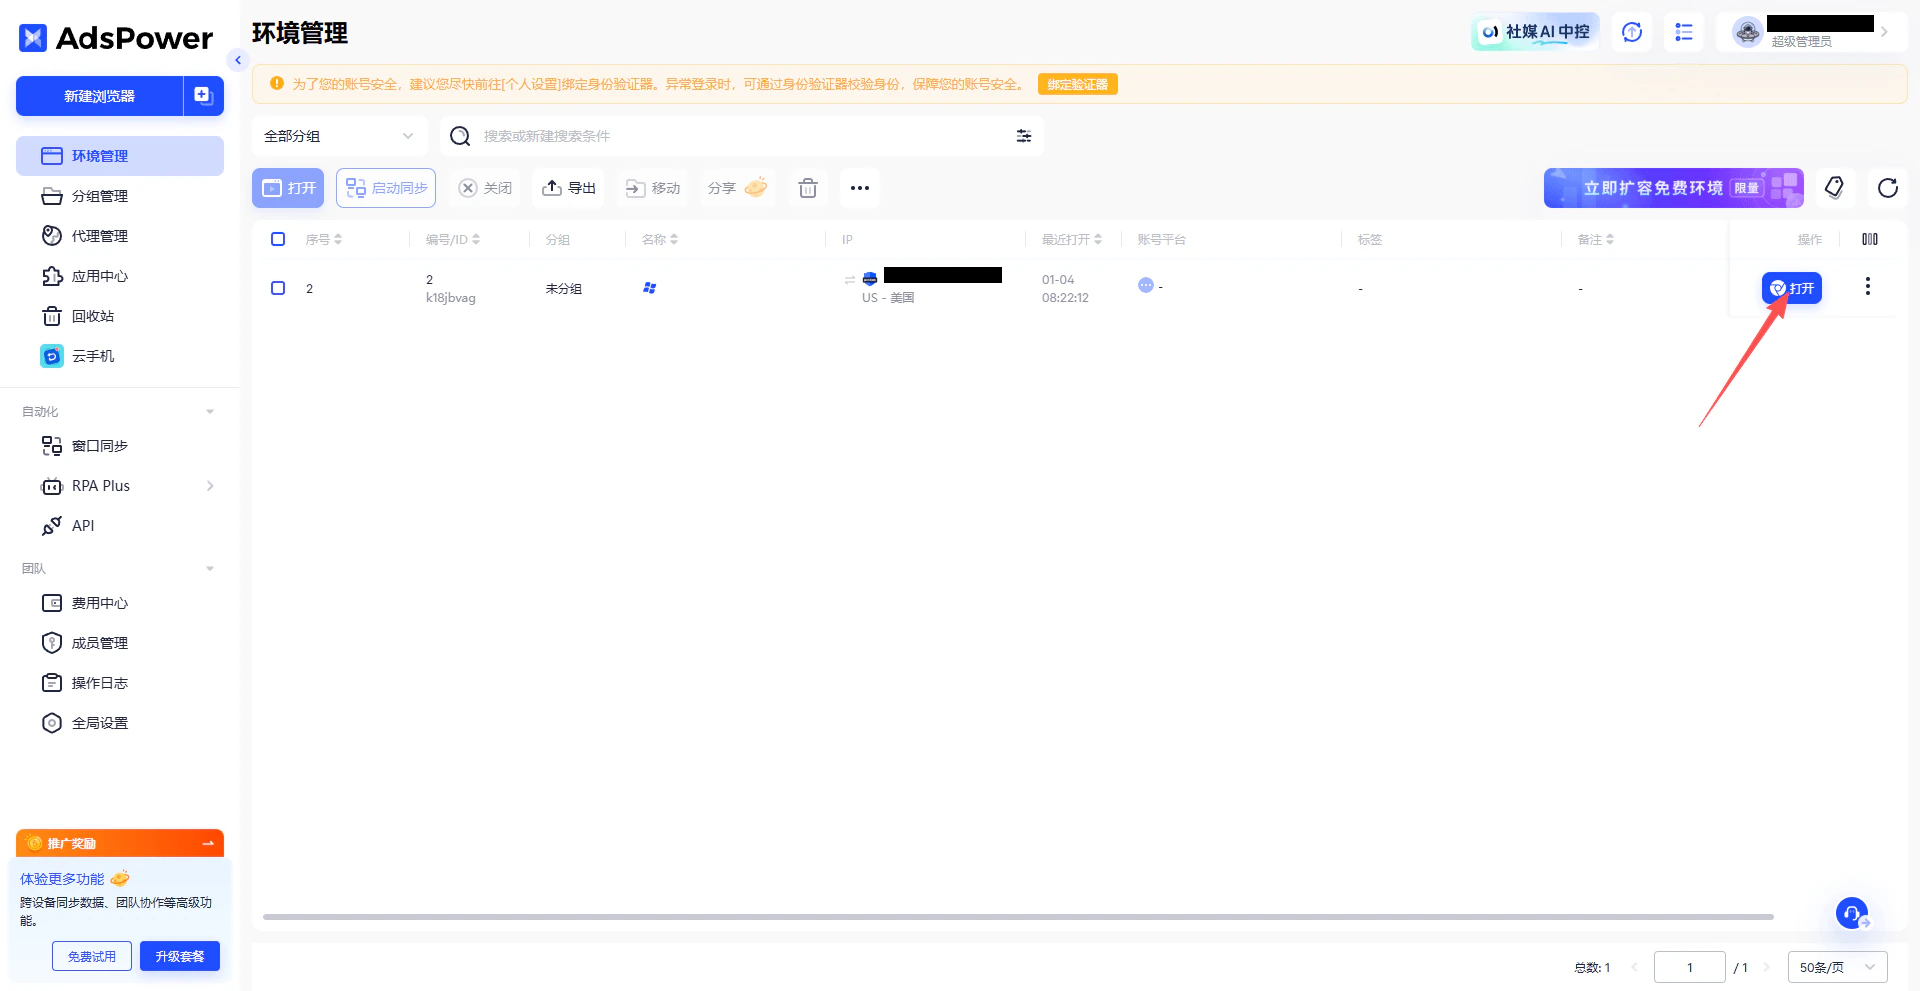
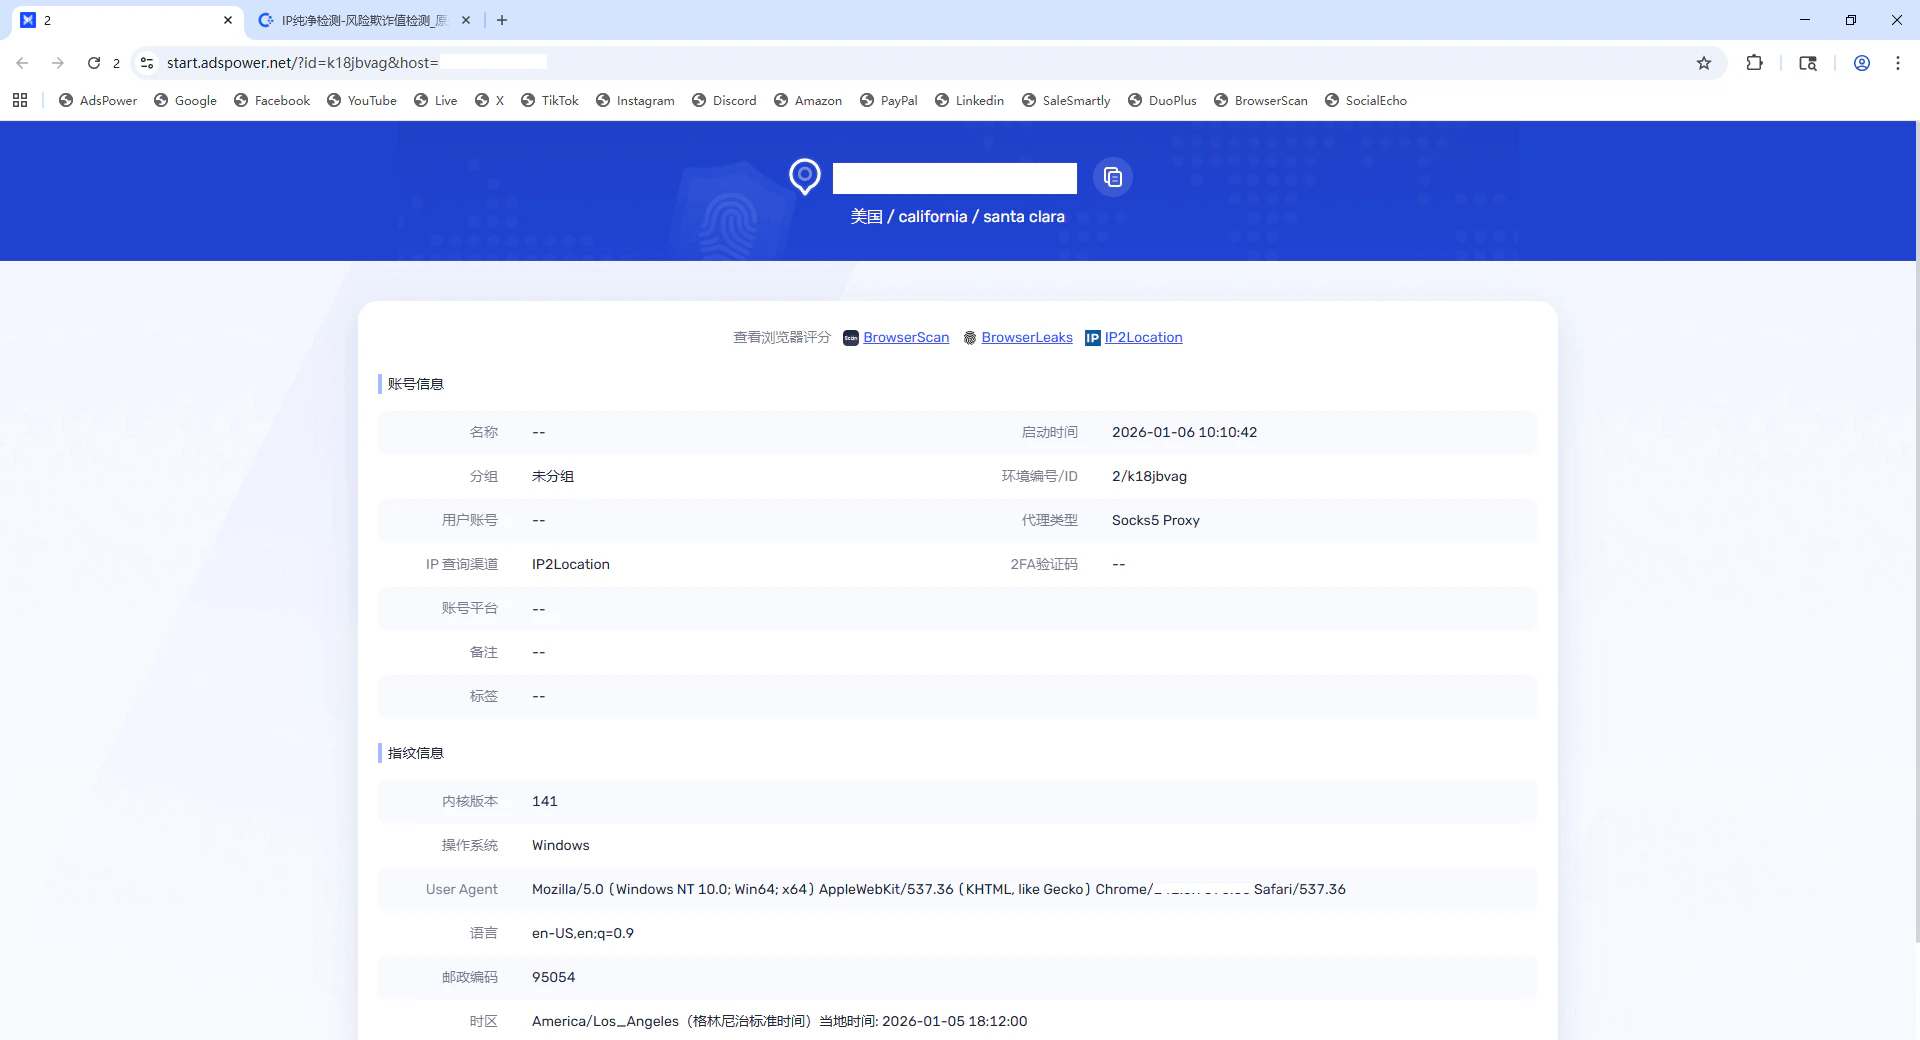
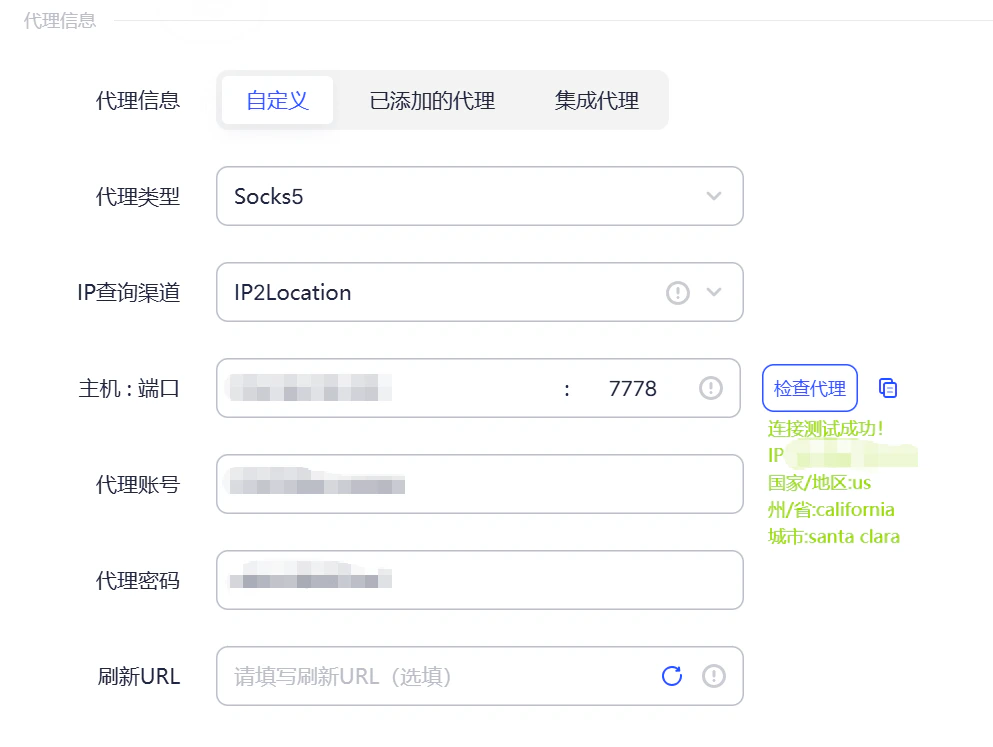
Step 7: Verify the Proxy IP
In the opened browser, visit an IP checking website to confirm that the displayed IP address matches the proxy IP provided by Ip2up.