All proxy products on the platform must be used in an overseas network environment. Users are required to configure the overseas network environment on their own.
Operating Steps
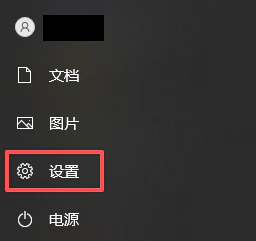
1. Open System Settings
Click the Start icon in the lower-left corner, then select Settings (gear icon) from the Start menu.
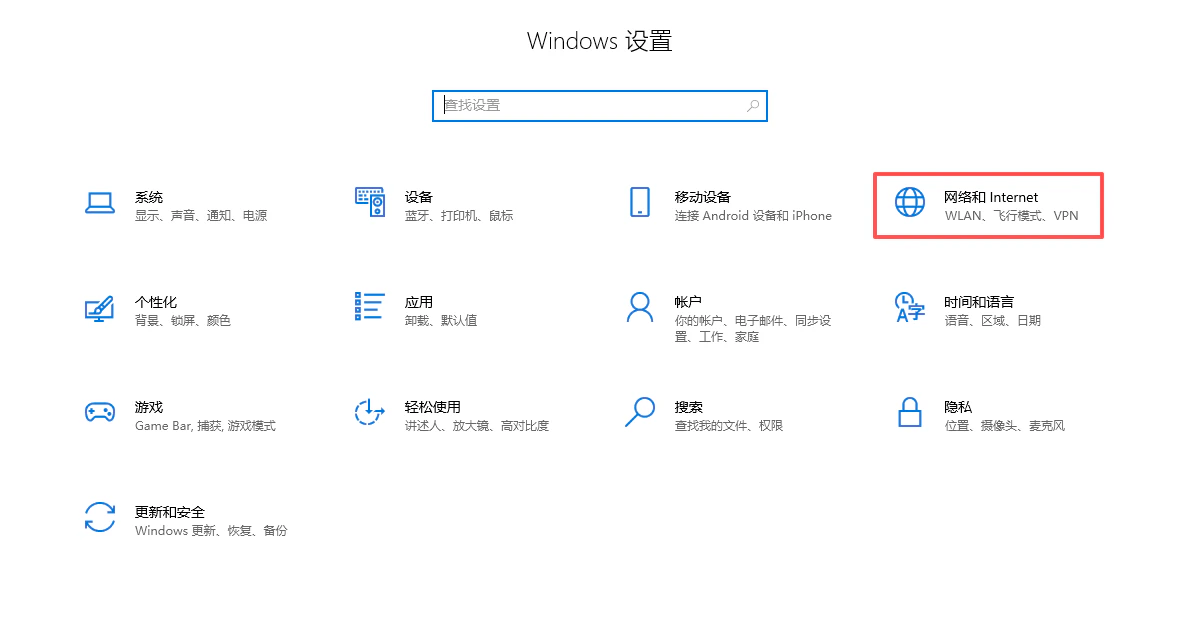
2. Open Network Settings
On the Settings page, click Network & Internet.
- Select Proxy from the left-hand menu.
- In the Manual proxy setup section on the right, turn on Use a proxy server.
- Enter the following information:
- Address: Proxy server IP address or domain name
- Port: Proxy service port number
- Click Save to complete the setup.
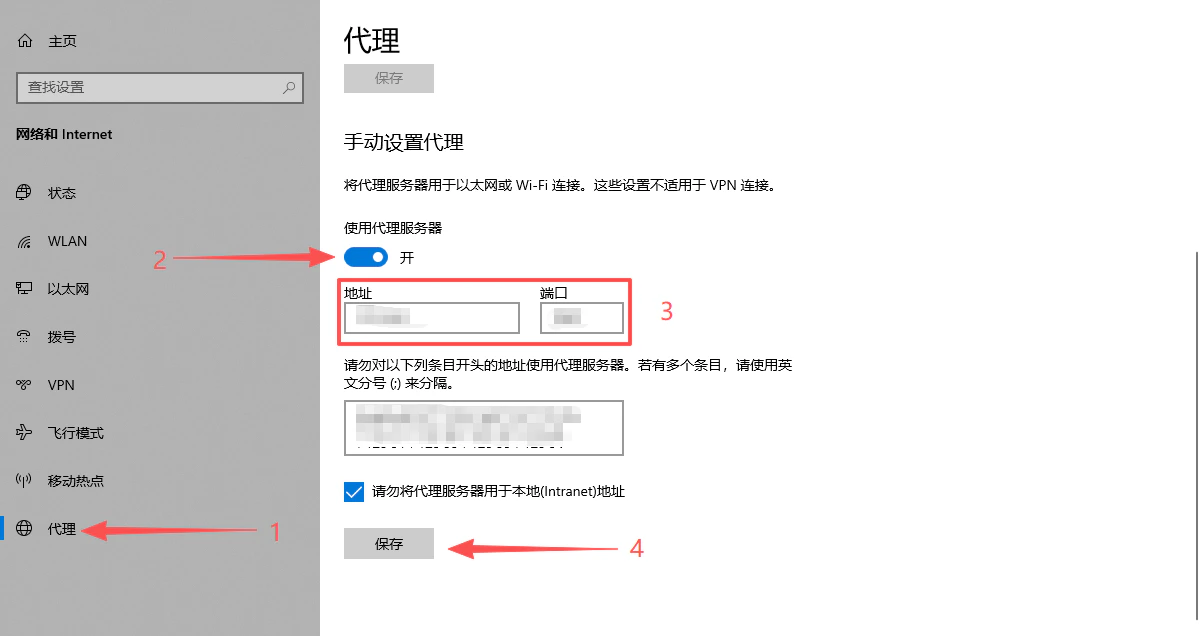
Tip: If you need to set exception addresses (websites that should not use the proxy), you can enter them in the field under “Do not use the proxy server for addresses that begin with…”.
4. Verify the Proxy Connection
Open any browser (such as Chrome or Edge) and visit an IP detection website. Check whether the displayed IP address matches the proxy IP you configured. If it does, the proxy setup is successful.
Notes
- After configuring the proxy, all system network traffic (including browsers and applications) will use the proxy server by default.
- To restore a direct connection, return to the proxy settings page, turn off Use a proxy server, and save.
- Please ensure that the proxy provider supports your intended use case and that authentication information (if required) is correctly configured.
✅ At this point, the system-wide proxy configuration on Windows 10 has been successfully completed, enabling global proxy access.